×
- Live Chat
- 1-888-511-3595

My Garage
My Account
Cart
Genuine Chrysler Laser Horn
Alarm Horn- Select Vehicle by Model
- Select Vehicle by VIN
Select Vehicle by Model
orMake
Model
Year
Select Vehicle by VIN
For the most accurate results, select vehicle by your VIN (Vehicle Identification Number).
1 Horn found
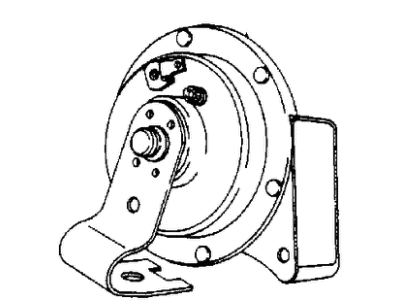
Chrysler Laser Horn
Looking for affordable and high-quality auto parts? Then you have already arrived at the proper online shop. We offer all Chrysler Laser Horn at great affordable prices. Moreover, all genuine Chrysler Laser Horn come with a manufacturer's warranty. In the long run, you would realize you have saved a lot of trouble and money with OEM parts from here.
Chrysler Laser Horn Parts Questions & Experts Answers
- Q: How can you troubleshoot a horn that will not sound on Chrysler Laser?A: If the horn will not sound, release the parking brake, place the trans-axle lever selector in Park or Neutral, and observe the brake light on the dash as the engine is started; if the light does not illuminate, the steering column is not properly grounded to the instrument panel, preventing the horn switch from grounding. If the brake lamp lights but the horn still does not sound, check for a blown Fuse; if a new fuse blows when the horn button is pushed, there is a short in the horn assembly or between the fuse terminal and the horn. If the fuse is good and the horn still does not sound, unplug the connector at the horn, insert a test lamp lead, ground the other lamp lead, and check if the lamp lights; if it does, the horn is faulty. Should the horn sound continuously, replace the horn relay with a known good one; if the horn still sounds, remove the horn button to ensure the horn contact wire is not shorting against the hub. To adjust the horn loudness and tone, first identify which horn needs adjustment and disconnect the one not being adjusted. Connect the horn to the positive terminal of the battery using a remote starter switch and an ammeter in series. With the remote starter switch depressed, the ammeter should read between 4.5 and 5.5 amps; to adjust, turn the adjusting screw clockwise to decrease or counterclockwise to increase the current, checking the horn for satisfactory tone and current draw after each adjustment.


