My Garage
My Account
Cart
Genuine Dodge Charger Automatic Transmission Filter
AT Filter- Select Vehicle by Model
- Select Vehicle by VIN
Select Vehicle by Model
orMake
Model
Year
Select Vehicle by VIN
For the most accurate results, select vehicle by your VIN (Vehicle Identification Number).
11 Automatic Transmission Filters found

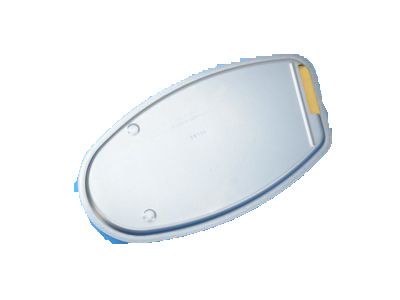
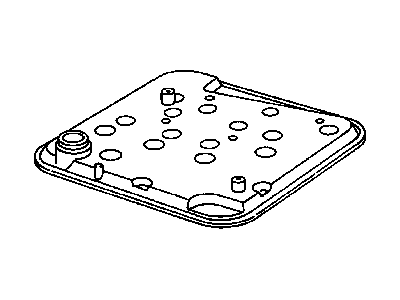
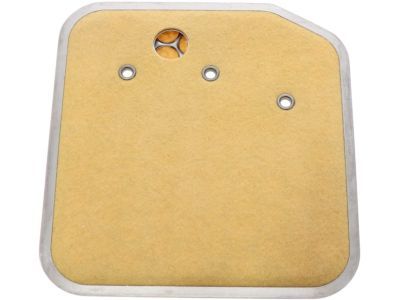
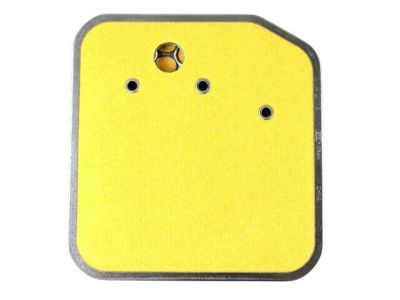
Dodge Charger Filter-Transmission Oil
Part Number: 52108325AA$44.48 MSRP: $60.85You Save: $16.37 (27%)
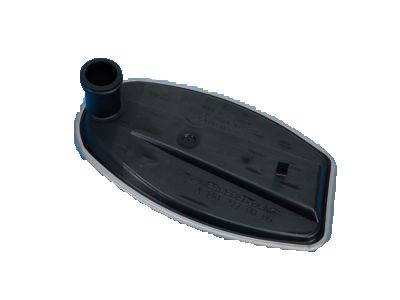
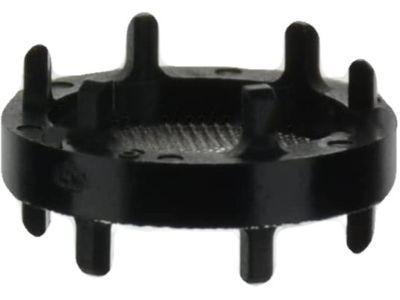
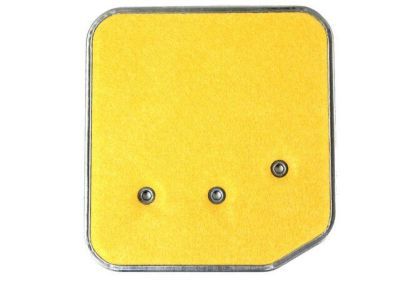
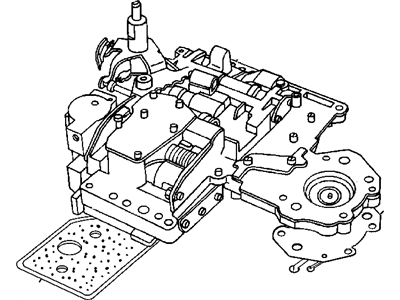
Dodge Charger Filter-Transmission Oil
Part Number: 68266725AB$115.88 MSRP: $174.00You Save: $58.12 (34%)
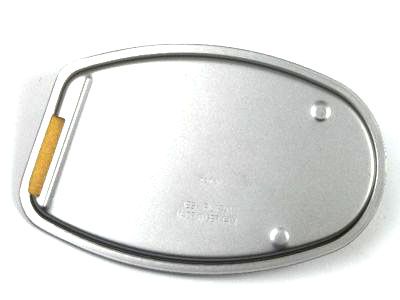
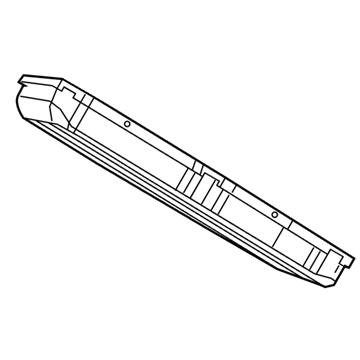
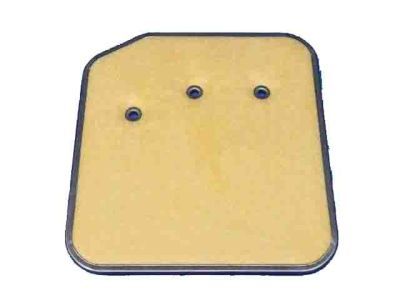
Dodge Charger Filter-Transmission Oil
Part Number: 52852913AB$47.71 MSRP: $68.60You Save: $20.89 (31%)
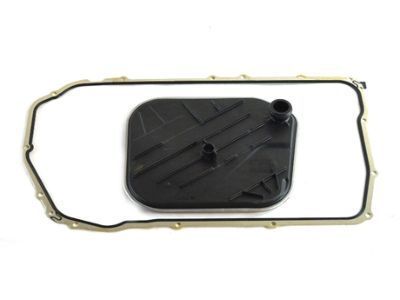
Dodge Charger Filter-Transmission Oil
Part Number: 68266725AA$115.88 MSRP: $174.00You Save: $58.12 (34%)

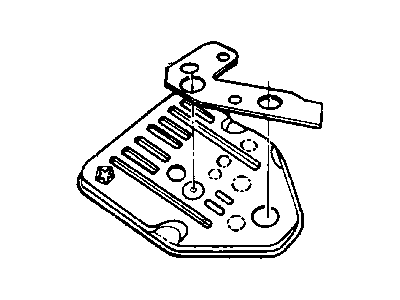
Dodge Charger Filter-Transmission Regulator Valve
Part Number: 3878313$3.09 MSRP: $4.55You Save: $1.46 (33%)

Dodge Charger Automatic Transmission Filter
The Automatic Transmission Filter is responsible for the maintenance of the health of the entire transmission system in Dodge Charger cars through the act of filtering out the dirt and other materials that are found in the transmission fluid. To prevent undesirable particles from circulating freely and getting lodged in the local areas for forming choke points that could hamper the working of the transmission, this filter is employed. Various types of Automatic Transmission Filters have been used on Dodge Chargers at some point: internal filters mounted behind the transmission fluid pan that can be accessed during obligatory services. There are some models that may have filters with restricted accessibility and manufacturers alias them as "lifetime filters" while there are spin on or cartridge types that are easy to access and also need frequent replacement. Performance transmission filters are available again with much better filtration characteristics and higher ability of the fluid to flow through the transmission resulting in increased fuel efficiency and longer life for the Charger's transmission.
Looking for affordable and high-quality auto parts? Then you have already arrived at the proper online shop. We offer all Dodge Charger Automatic Transmission Filter at great affordable prices. Moreover, all genuine Dodge Charger Automatic Transmission Filter come with a manufacturer's warranty. In the long run, you would realize you have saved a lot of trouble and money with OEM parts from here.
Dodge Charger Automatic Transmission Filter Parts Questions & Experts Answers
- Q: How to drain and replace transmission fluid and Automatic Transmission Filter in a Dodge Charger?A:At specified time intervals, drain and replace the transmission fluid after the vehicle has completely cooled down. Before starting, purchase the recommended transmission fluid and a new filter. Additionally, gather tools such as jack stands, a drain pan, newspapers, and clean rags. Raise and support the vehicle on jack stands. Place a drain pan and remove the front and side transmission pan mounting bolts. Loosen the rear pan bolts and carefully pry the transmission pan loose with a screwdriver to allow the fluid to drain. Remove the remaining bolts, pan, and gasket, and clean the gasket surface of the transmission. Drain the fluid from the pan, clean it with solvent, and dry it with compressed air. Remove the filter and seal, then install a new filter seal and the new filter. Ensure the gasket surface on the transmission pan is clean. Install a new gasket if working on a NAG1 transmission, or clean the pan and transmission surfaces with lacquer thinner and apply ATF-resistant RTV sealant if working on a 42LE transmission. Bolt the pan in place and tighten the bolts gradually until the final torque figure is reached. Lower the vehicle and add the specified amount of automatic transmission fluid through the filler tube. Check for leaks during the first few trips. To check the fluid level, start the engine with the parking brake set and move the shift lever through all gear ranges, ending in Neutral. Wait for at least 2 minutes. With the transmission at normal operating temperature, insert the dipstick into the filler tube and note the fluid level. Use a scan tool to check the temperature of the fluid and determine the correct fluid level using the temperature and the height of the fluid on the dipstick. If additional fluid is required, add it directly into the tube using a funnel and check the level until it's correct. Finally, install the dipstick tube cap.
Related Dodge Charger Parts
Browse by Year
2023 Automatic Transmission Filter 2022 Automatic Transmission Filter 2021 Automatic Transmission Filter 2020 Automatic Transmission Filter 2019 Automatic Transmission Filter 2018 Automatic Transmission Filter 2017 Automatic Transmission Filter 2016 Automatic Transmission Filter 2015 Automatic Transmission Filter 2014 Automatic Transmission Filter 2013 Automatic Transmission Filter 2012 Automatic Transmission Filter 2011 Automatic Transmission Filter 2010 Automatic Transmission Filter 2009 Automatic Transmission Filter 2008 Automatic Transmission Filter 2007 Automatic Transmission Filter 2006 Automatic Transmission Filter 1987 Automatic Transmission Filter 1986 Automatic Transmission Filter 1985 Automatic Transmission Filter 1984 Automatic Transmission Filter

