×
- Live Chat
- 1-888-511-3595

My Garage
My Account
Cart
Genuine Dodge Dakota Bumper
Bumper Fascia- Select Vehicle by Model
- Select Vehicle by VIN
Select Vehicle by Model
orMake
Model
Year
Select Vehicle by VIN
For the most accurate results, select vehicle by your VIN (Vehicle Identification Number).
53 Bumpers found
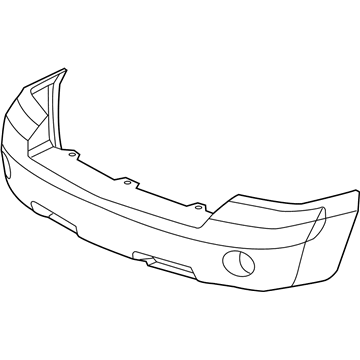
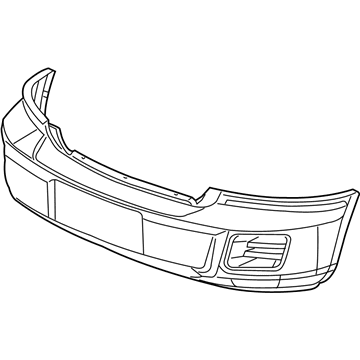
Dodge Dakota Front Bumper Cover W/ Fog Light Holes
Part Number: 68029832AA$434.34 MSRP: $635.00You Save: $200.66 (32%)
| Page 1 of 3 |Next >
1-20 of 53 Results
Dodge Dakota Bumper
Looking for affordable and high-quality auto parts? Then you have already arrived at the proper online shop. We offer all Dodge Dakota Bumper at great affordable prices. Moreover, all genuine Dodge Dakota Bumper come with a manufacturer's warranty. In the long run, you would realize you have saved a lot of trouble and money with OEM parts from here.
Dodge Dakota Bumper Parts Questions & Experts Answers
- Q: How to remove and install front and rear bumpers on Dodge Dakota?A: All vehicles have a front bumper system consisting of a brush guard, painted bumper cover, painted fascia, and a structural member all painted black for appearance from the exterior, and a black ABS plastic fascia from the interior to protect the lower valence, with Durango models using the same material for the rear bumpers. To demount the bumper cover you should start with the removal of the radiator Grille and then the headlight housings which are followed by the unbolt of the fasteners located at the end of the bumper in the front wheelwell. For Dakota models, the upper mounting fasteners as well as the bumper cover should be detached and, for Durango models, the tabs at the top should be popped to take off the bumper cover. The process of installation is to the contrary of the removal process. Second, to gain access to the bumper cover support, the bumper cover must be removed and if available any fog lamp must be disconnected. For the Dakota models, three fasteners must be uncoupled at the top and six at the front of the support, while for Durango models one must remove the fasteners near the fog lamps before removing the support. Once more, installation is done in the reverse order to the diagram below. The rear bumper for Durango models may be removed by first opening the liftgate: next, remove the upper mounting bolts, then the bottom and side bolts and finally, the rear bumper cover. The process of installation is just an opposite way to the process removal. Again, for Dakota models, pull off any electrical connectors that may hinder the process and you have to use a wrench to take off the bolts at the center of the bumper to the crossmember or to the hitch and with the assistance of another person, you require removing the bolts/nuts attaching the bumper to the hitch or frame rails. Installation procedure is the exact opposite to removal procedure.


