×
- Live Chat
- 1-888-511-3595

My Garage
My Account
Cart
Genuine Jeep Cherokee Fuel Pump
Gas Pump- Select Vehicle by Model
- Select Vehicle by VIN
Select Vehicle by Model
orMake
Model
Year
Select Vehicle by VIN
For the most accurate results, select vehicle by your VIN (Vehicle Identification Number).
40 Fuel Pumps found
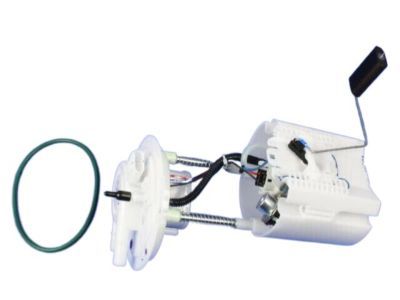
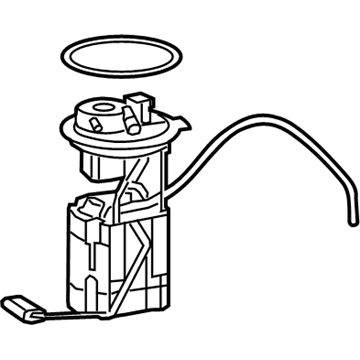
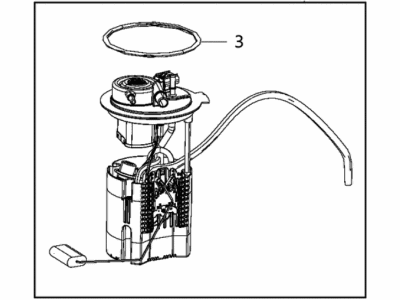
Jeep Cherokee Fuel Pump Module/Level Unit
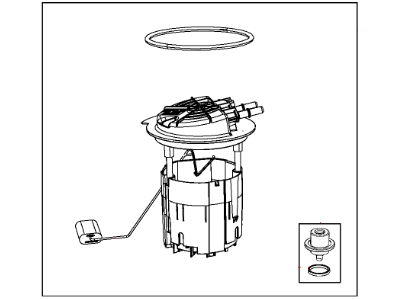
Part Number: 68166589AC$691.49 MSRP: $982.00You Save: $290.51 (30%)Jeep Cherokee Fuel Pump Module Assembly
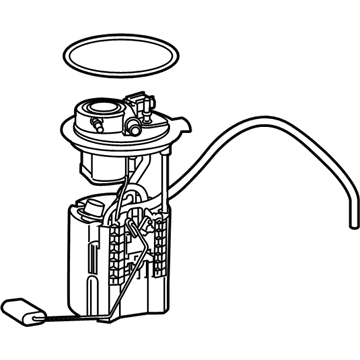
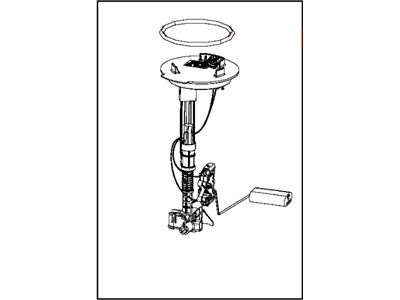
Part Number: 68187986AB$933.57 MSRP: $1280.00You Save: $346.43 (28%)Jeep Cherokee Fuel Pump Module/Level Unit
Part Number: 68217187AB$635.80 MSRP: $967.00You Save: $331.20 (35%)Jeep Cherokee Fuel Pump Control Module
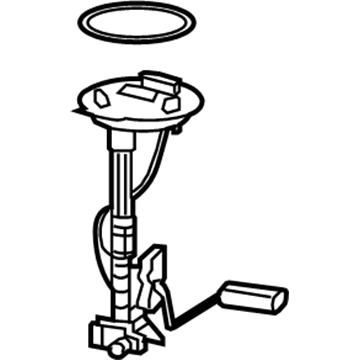
Part Number: 68434538AA$96.06 MSRP: $145.00You Save: $48.94 (34%)Jeep Cherokee Fuel Pump/Level Unit Module
Part Number: 68231311AB$401.28 MSRP: $587.00You Save: $185.72 (32%)Jeep Cherokee Module-Fuel Pump/Level Unit
Part Number: 68109894AE$118.44 MSRP: $177.00You Save: $58.56 (34%)Jeep Cherokee Module-Fuel Pump/Level Unit
Part Number: 68217187AD$658.92 MSRP: $967.00You Save: $308.08 (32%)Jeep Cherokee FUEL PUMP/LEVEL UNIT
Part Number: 68656922AA$366.30 MSRP: $558.00You Save: $191.70 (35%)Jeep Cherokee Modulekit-Fuel Pump/Level Unit
Part Number: 68217192AE$429.78 MSRP: $631.00You Save: $201.22 (32%)Jeep Cherokee Fuel Pump Complete Kit
Part Number: 68231311AA$387.20 MSRP: $587.00You Save: $199.80 (35%)Jeep Cherokee Fuel Pump Module Kit/Level Unit
Part Number: 68217192AC$298.02 MSRP: $631.00You Save: $332.98 (53%)Jeep Cherokee Fuel Pump Module/Level Unit
Part Number: 68217192AB$298.02 MSRP: $631.00You Save: $332.98 (53%)Jeep Cherokee Fuel Pump Module/Level Unit
Part Number: 68109894AB$118.44 MSRP: $177.00You Save: $58.56 (34%)Jeep Cherokee Fuel Pump/Level Unit Module
Part Number: 68217195AC$427.90 MSRP: $654.00You Save: $226.10 (35%)Jeep Cherokee Pkg Part-Fuel PUMP/LEVEL Unit
Part Number: 68245537AC$327.80 MSRP: $501.00You Save: $173.20 (35%)Jeep Cherokee Module-Fuel Pump/Level Unit
Part Number: 68434123AC$411.54 MSRP: $607.00You Save: $195.46 (33%)
| Page 1 of 2 |Next >
1-20 of 40 Results
Jeep Cherokee Fuel Pump
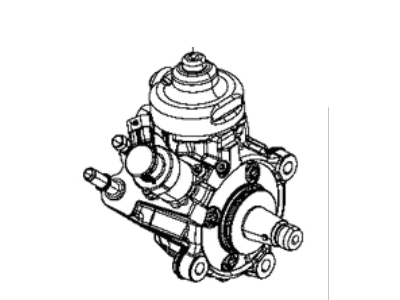
The Fuel Pump used in Jeep Cherokee is very important because it helps delivery fuel from the tank to the carburetor of the engine or fuel injector. Traditionally carbureted models employ mechanical low pressure fuel pumps with most fuel-injected models using electric pumps usually nestled in the fuel tank. Assistance from mechanical pumps through a float valve by the camshaft is maintained to achieve pressure, but their use is now rare due to complexities of modern high pressure systems. The electric fuel pump affords added advantages such as higher pressures (40-60 PSI and above) and better cooling and virtually no fire risks. What is more, they are controlled by the so called electronic control units (ECUs), with regards to fuel efficiency. Moreover, such milestones such as pulse-width modulation also contribute to the extension of the life cycle and precision of these pumps. Summing up, I can state that the transition from mechanical fuel pumps to electrical ones is the necessity to get better results and safe Jeep Cherokee cars.
Looking for affordable and high-quality auto parts? Then you have already arrived at the proper online shop. We offer all Jeep Cherokee Fuel Pump at great affordable prices. Moreover, all genuine Jeep Cherokee Fuel Pump come with a manufacturer's warranty. In the long run, you would realize you have saved a lot of trouble and money with OEM parts from here.
Jeep Cherokee Fuel Pump Parts Questions & Experts Answers
- Q: How to check fuel pump in Jeep Cherokee?A: To perform a quick check on the mechanical pump in carburetor-equipped vehicles, first, disconnect the negative battery terminal, then remove the air cleaner assembly. Next, detach the fuel inlet fitting from the carburetor and place the inlet line end in a container. Reconnect the battery terminal and, if available, use a remote starter switch per manufacturer's instructions; if not, you'll need an assistant. Disable the ignition coil by detaching the primary lead wires, and with the fuel line directed into the container, have your assistant turn the ignition key to Start and crank the engine for about ten seconds. Observe well-defined spurts of fuel emission; if not, there's a fuel delivery issue. For a pressure test, employ a fuel pressure gauge, hose restrictor, and flexible hose, connecting them between the fuel inlet fitting or fuel filter and the carburetor. Start the engine, discharge fuel into a container briefly, close the restrictor, and note the pressure, which should be 4-to-5 psi for four-cylinder and 6-to-7.5 psi for V6 engines. If pressure is incorrect and fuel lines are fine, replace the pump. For a capacity test, operate the engine at idle, discharge fuel into a container for 30 seconds, and ensure at least one pint of fuel is discharged. If not, repeat with an auxiliary fuel supply and replace the fuel filter for four-cylinder engines if necessary. If volume is good, check the fuel supply line for blockage. V6 engines can undergo a direct connection vacuum test using a vacuum gauge, while an indirect connection vacuum test can be performed with a T-fitting. If vacuum isn't within specification, the pump is defective. On fuel-injected vehicles with electric pumps, perform a TBI pressure test by replacing the pressure test port plug with a special fitting, attaching a 0-to-30 psi fuel pressure gauge, and adjusting pressure with the regulator screw. For MPI pressure tests on earlier models, use a 0-to-60 psi gauge on the Fuel Rail and note pressure with and without vacuum to check the regulator. Later models require a special fixture. To test for fuel pressure leak down, use a gauge capable of reading 0-to-100 psi, start the engine, check pressure, shut down, and monitor pressure for 30 minutes; a drop of 0-to-20 psi is acceptable. If it exceeds, perform additional tests to identify the issue and replace the regulator or pump accordingly.
Related Jeep Cherokee Parts
Browse by Year
2023 Fuel Pump 2022 Fuel Pump 2021 Fuel Pump 2020 Fuel Pump 2019 Fuel Pump 2018 Fuel Pump 2017 Fuel Pump 2016 Fuel Pump 2015 Fuel Pump 2014 Fuel Pump 1996 Fuel Pump 1995 Fuel Pump 1994 Fuel Pump 1993 Fuel Pump 1992 Fuel Pump 1991 Fuel Pump 1990 Fuel Pump 1989 Fuel Pump 1988 Fuel Pump 1987 Fuel Pump 1986 Fuel Pump 1985 Fuel Pump 1984 Fuel Pump
