My Garage
My Account
Cart
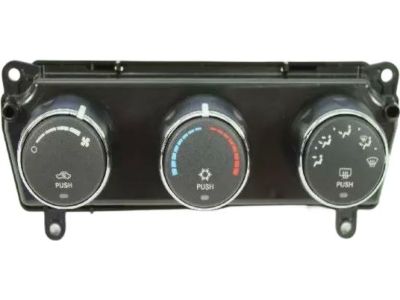
Genuine Jeep Liberty A/C Switch
Air Conditioning Switch- Select Vehicle by Model
- Select Vehicle by VIN
Select Vehicle by Model
orMake
Model
Year
Select Vehicle by VIN
For the most accurate results, select vehicle by your VIN (Vehicle Identification Number).
18 A/C Switches found

Jeep Liberty Air Conditioner And Heater Control
Part Number: 55111829AC$260.57 MSRP: $389.00You Save: $128.43 (34%)
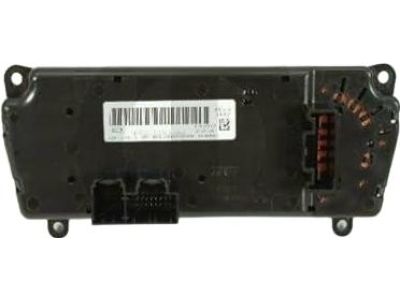
Jeep Liberty Air Conditioner And Heater Control
Part Number: 55111943AA$432.30 MSRP: $655.00You Save: $222.70 (34%)
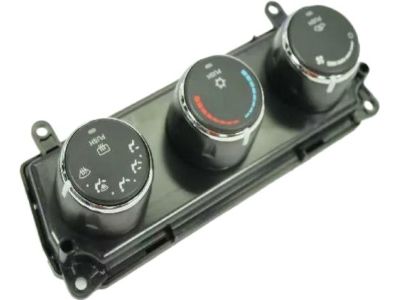
Jeep Liberty Air Conditioner And Heater Control Switch
Part Number: 55037533AG$222.69 MSRP: $283.37You Save: $60.68 (22%)
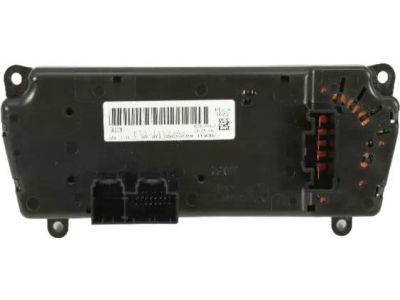
Jeep Liberty Air Conditioner And Heater Control
Part Number: 55037533AE$165.10 MSRP: $219.00You Save: $53.90 (25%)
Jeep Liberty Air Conditioning And Heater Control
Part Number: 55111943AD$432.30 MSRP: $655.00You Save: $222.70 (34%)
Jeep Liberty Air Conditioner And Heater Control
Part Number: 55037533AB$146.25 MSRP: $219.00You Save: $72.75 (34%)
Jeep Liberty Air Conditioner And Heater Control
Part Number: 55111955AB$232.37 MSRP: $345.00You Save: $112.63 (33%)
Jeep Liberty Air Conditioner And Heater Control
Part Number: 55111943AB$432.30 MSRP: $655.00You Save: $222.70 (34%)
Jeep Liberty Air Conditioner And Heater Control
Part Number: 55037533AC$146.25 MSRP: $219.00You Save: $72.75 (34%)
Jeep Liberty Automatic Air Conditioner Heat Climate Temperature Control
Part Number: 55111816AE$232.37 MSRP: $345.00You Save: $112.63 (33%)
Jeep Liberty Air Conditioner Heater Climate Temperature Control
Part Number: 55037533AD$165.10 MSRP: $219.00You Save: $53.90 (25%)
Jeep Liberty Air Conditioner And Heater Control
Part Number: 55111943AE$432.30 MSRP: $655.00You Save: $222.70 (34%)Jeep Liberty Air Conditioning And Heater Control
Part Number: 55111935AA$260.57 MSRP: $389.00You Save: $128.43 (34%)Jeep Liberty Air Conditioner And Heater Control
Part Number: 55111943AC$432.30 MSRP: $655.00You Save: $222.70 (34%)


Jeep Liberty A/C Switch
Looking for affordable and high-quality auto parts? Then you have already arrived at the proper online shop. We offer all Jeep Liberty A/C Switch at great affordable prices. Moreover, all genuine Jeep Liberty A/C Switch come with a manufacturer's warranty. In the long run, you would realize you have saved a lot of trouble and money with OEM parts from here.
Jeep Liberty A/C Switch Parts Questions & Experts Answers
- Q: How to Install or Replace an A/C Heater Control Panel on Jeep Liberty?A:Disconnect the negative cable from the battery. For 2007 and earlier models, remove the center trim bezel and disconnect the electrical connectors and vacuum plug from the A/C switch. Detach the A/C switch by removing the four mounting screws. To install the A/C switch, reverse the removal procedure. For 2008 and later models, remove the center trim bezel and disconnect the electrical connectors to the A/C switch. Remove the A/C switch assembly mounting screws and separate the A/C switch assembly from the trim bezel. Installation is the reverse of removal. Note that when installing a new A/C switch or reinstalling the original one, the A/C switch assembly will automatically perform the Actuator Calibration function when the ignition key is first turned on. If the A/C switch assembly is from another vehicle, the Actuator Calibration must be done following the diagnostic guidelines using a scan tool and software. For A/C switch vacuum tests on 2007 and earlier models, remove the check valve located behind the glove box and test it with a handheld vacuum pump. If the vacuum does not flow through or hold, replace the check valve. Reconnect the check valve in the proper direction and plug the hose back onto the intake manifold. With the A/C switch pulled out and the vacuum harness disconnected, apply vacuum to each of the ports on the connector. If any of the circuits don't hold vacuum, trace the lines to their destination to isolate the source of the leak and repair it. Note that the vacuum lines are colored differently according to their destination, making it easier to trace them during troubleshooting.


