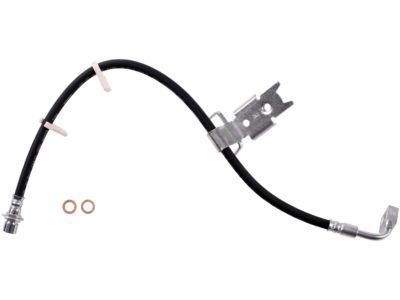
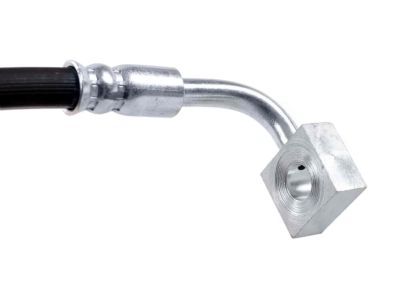
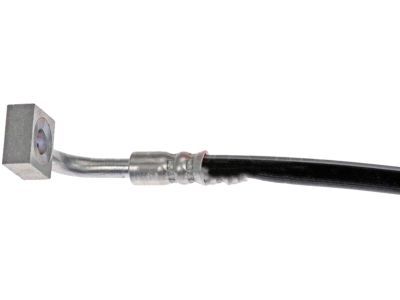
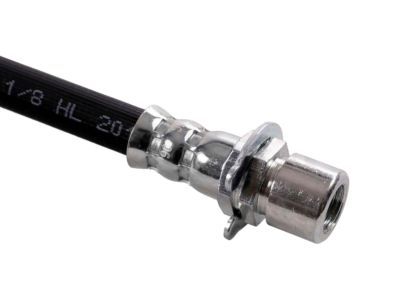
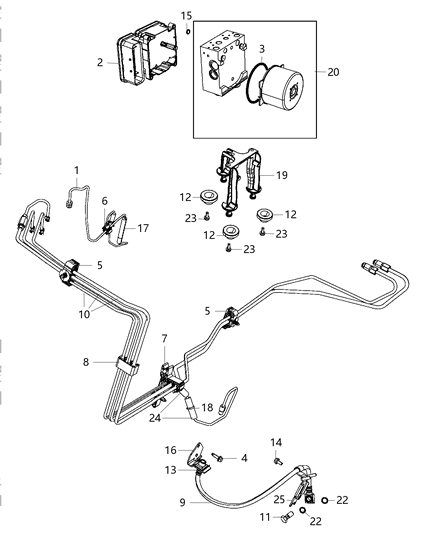
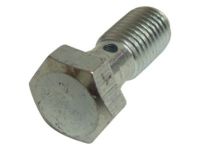
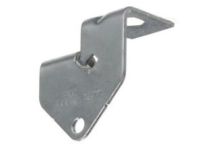
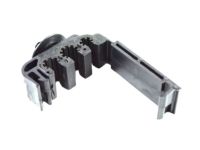
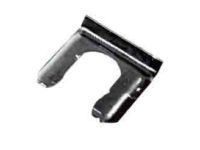
About every six months, with the vehicle raised and securely supported on jackstands, inspect the rubber hoses connecting the steel brake lines to the front and rear brake assemblies for cracks, chafing, leaks, blisters, and other damage, as these are crucial parts of the brake system. Use a light and mirror for a thorough check, and replace any damaged hose with a new one. To replace the front brake hose, loosen the wheel lug nuts, raise the vehicle, and remove the wheel. Unscrew the brake line fitting from the hose at the frame bracket using a flare-nut wrench, then remove the U-clip from the female fitting and pass the hose through the bracket. At the caliper end, remove the banjo fitting bolt and separate the hose from the caliper, ensuring to replace the two copper sealing washers during installation. Detach the fastener from the hose bracket at the steering knuckle, then install the new hose by attaching the bracket to the steering knuckle and connecting the fitting to the caliper with the banjo bolt and new sealing washers, tightening the bolt to the specified torque. Push the metal support into the frame bracket and install the U-clip, ensuring the hose isn't twisted. Connect the brake line fitting securely, bleed the caliper, install the wheel and lug nuts, lower the vehicle, and tighten the lug nuts to the specified torque. For the rear brake hose, which has a fitting and a bracket fastened to the rear frame, follow the same replacement steps as for the front. When replacing metal brake lines, use the correct parts and avoid copper tubing; instead, purchase genuine steel brake lines. Prefabricated brake lines with flared tube ends and installed fittings are available at auto parts stores. Ensure the new line is securely supported in the brackets and has adequate clearance from moving or hot components. After installation, check the master cylinder fluid level, add fluid as necessary, bleed the brake system, and test the brakes carefully before driving in traffic.
Posted by MoparPartsGiant Specialist 
