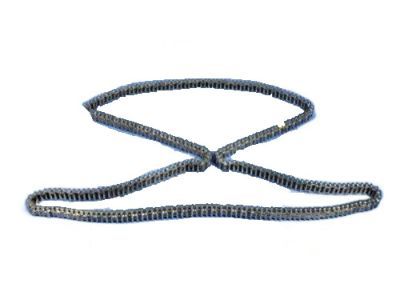
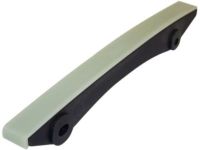
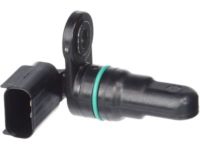
This procedure requires special tools, to learn about the tools needed, it is advised that one read through the whole process until one gets the essentials then proceed with the work. Because of the extensive effort required to gain access to and replace the timing chain, it becomes practical also to inspect and replace the water pump if required at this point. Valve timing in the 2.7L engine is managed by three timing chains, with the primary timing chain looping round the crankshaft sprocket, water pump and two of the intake camshaft sprockets, while two secondary chains interlink the intake and exhaust camshafts. To pull the timing chain, you will have to disconnect the lead of battery, easing fuel pressure and also vacuuming out the coolant. Lift the front of the vehicle on jackstands, remove the right front wheel, and interior part of the fender liner, and loosen the clamp on the heater hose and withdrawal the heater supply pipe from the hose. Raise the vehicle and References the accessory drivebelts, crankshaft pulley and the power steering pump in position but without having to disconnect the fluid lines. After that, strip the upper intake manifold, the valve covers, and spark plugs, as well as ensure that the number one piston is on the compression stroke TDC. Disconnect the water outlet housing, place a piece of wood under the engine and take off the right engine mount. Remove timing chain cover to allow access to some of the bolts that have to be readjusted; it is advisable to mark or draw the position of some of the bolts to make reassembly much easier. Turn the engine until the crankshaft sprocket 's timing mark lines up with the oil pump housing mark and the colored portions of the chain coincide with the timing marks on the other camshaft and crankshaft sprockets. Take out the first timing chain tensioner and the two retention bolts of the primary camshaft sprockets with an important caution for the pressure of valve springs. Withdraw the primary sprockets out of the camshaft hubs; lower them down the cylinder head hole and take off the primary timing chain. The camshaft, water pump and crankshaft sprockets need to be visually checked for wear, any that appear worn will have to be replaced. If, due to wear, stretching, or for some other reason, a new timing chain is bought, count the links and match the colored links together with the old chain. The crankshaft sprocket should be located in such a manner that it aligns with the oil pump housing mark and the upper chain guides to be fitted. To be ready for the creation of the initial timing chain, the left camshaft should be lined together with the groove of the light colored links; afterwards, have the sprocket and chain assembly lowered down. Use a proper camshaft sprocket, vibration damper and timing chain and put the colored links on respective marks. Lower chain guide and tensioner arm assembly, removed oil from tensioner and reset before fitting. The final wrenching of adjustment should then be on the tensioner retaining plate bolts, and while the camshaft sprocket retaining bolts should also be put in place and aligned correctly. Turn the engine to relieve tension in the timing chain, align the timing marks and retract the primary timing chain tensioner. Remove the old sealant from the timing chain cover and apply new RTV sealant on the gasket and then fix the cover using bolts that should be tightened to the recommended torque. The rest of the remaining sequence of the installation is the reverse process of removal and the cooling system should be topped up after. Also for removing the crankshaft sprocket one may have to use a three jaw puller and propane torch or installation tool. In the case the primary timing chain is gone, you use a three-jaw puller to take off the crankshaft sprocket. For installation a sprocket installation tool is used or propane torch to heat the sprocket hub for better positioning over the crankshaft in such a manner that faces flat against the crankshaft , the depth of the crankshaft face to the End of crankshat face is measured to be in the measurement required.
Posted by MoparPartsGiant Specialist 
