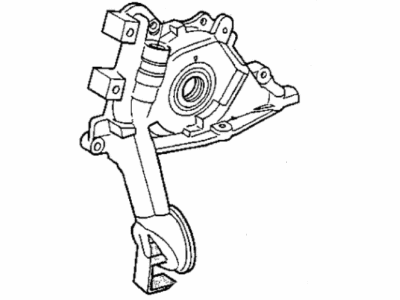
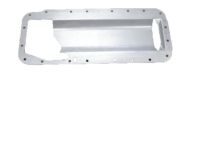
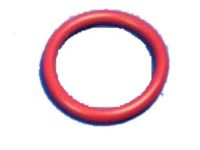
The oil pump pressure relief valve can be serviced without removing the oil pan and oil pick-up tube. Begin by disconnecting the negative battery cable from the ground stud on the left shock tower. Next, remove the oil pan and pick-up tube assembly, followed by the timing belt and crankshaft sprocket. For 2.4L engines, remove the oil filter. Detach the oil pump assembly from the engine, taking care to gently tap it with a soft-faced hammer if it does not come off by hand. Unscrew the mounting screws to remove the rotor assembly cover from the oil pump housing, and carefully withdraw the inner and outer rotors, ensuring no damage occurs as close tolerances are critical for correct oil pressure. Use a hammer and brass drift to remove and discard the crankshaft front seal from the oil pump housing, and also remove and discard the O-ring seal from the oil pump housing discharge port. Disassemble the relief valve assembly, noting the installation of the relief valve piston, and remove the cap bolt, washer, spring, and relief valve. Clean all components and inspect for excessive wear or damage, particularly the oil pressure relief valve piston sliding surface and valve spring, replacing them as a set if damaged. Measure the relief valve spring free length and compare it to the specified dimensions, replacing it if out of tolerance by more than 1/8 of an inch. Check the oil pump rotor dimensions and clearances with a micrometer or vernier calipers and a feeler gauge, replacing both rotors if any dimension is out of tolerance. Lubricate the relief valve piston, piston bore, and spring with clean engine oil, then install the relief valve piston with the grooved end first, followed by the spring and cap bolt, tightening the cap bolt to the specified torque. Lubricate the oil pump rotor recess and both rotors with clean engine oil, install them in the body, and fill the rotor cavity with clean engine oil before installing the cover and tightening the cover screws. Install a new O-ring in the oil discharge passage, apply anaerobic sealant to the oil pump body sealing surface, and position the pump assembly on the block, aligning the inner rotor and crankshaft drive flats, then tighten the oil pump attaching bolts. Install the new crankshaft front seal in the oil pump housing, followed by the crankshaft sprocket and timing belt. Reinstall the oil pump pick-up tube assembly and oil pan, then install a new oil filter. Lower the vehicle and fill the crankcase with the proper quantity and grade of oil. Finally, connect the negative battery cable to the ground stud on the left shock tower, and after the sealant has cured according to the manufacturer's directions, start the engine and check for leaks.
Posted by MoparPartsGiant Specialist 
