×
- Live Chat
- 1-888-511-3595

My Garage
My Account
Cart
Genuine Chrysler Cirrus Shock Absorber
Suspension Shock Absorber- Select Vehicle by Model
- Select Vehicle by VIN
Select Vehicle by Model
orMake
Model
Year
Select Vehicle by VIN
For the most accurate results, select vehicle by your VIN (Vehicle Identification Number).
16 Shock Absorbers found
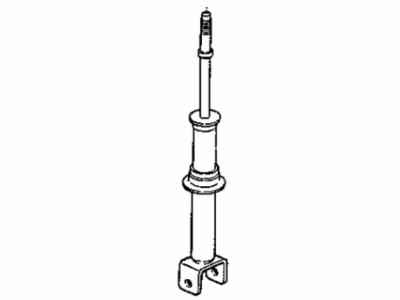
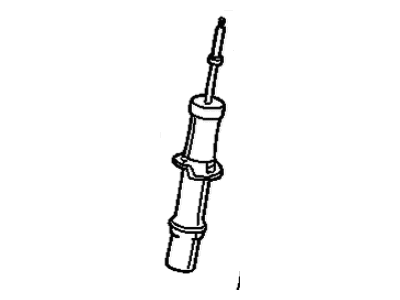
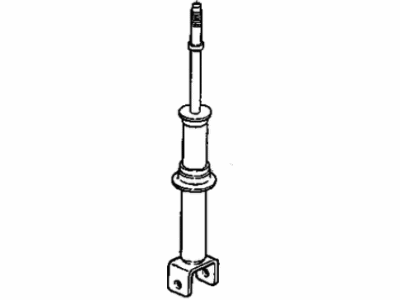
Chrysler Cirrus ABSORBER-Rear Suspension
Part Number: 4764227$15.47 MSRP: $19.69You Save: $4.22 (22%)
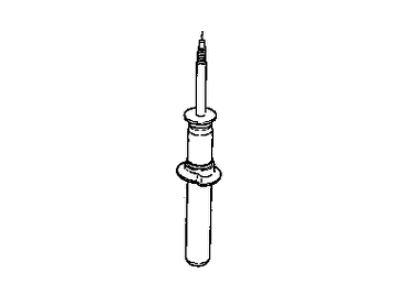
Chrysler Cirrus Shock Absorber
In Chrysler Cirrus cars, the Shock Absorber is substantially employed in the suspension system cooperation with the struts to offer steadiness and control. Thus, the kinetic energy is transformed to heat, which prevents bouncing and dampens vibrations, enhancing the driving experience. Throughout the years, Cirrus vehicles apply Shock Absorbers of two types; twin-tube and mono-tube in which the mechanisms of controlling of the hydraulic fluid flow, as well as the performance of the vessels, depends on the varied driving conditions. Derivative control types such as PSD and ASD take the Shock Absorber's responses to new heights when it comes to specific driving conditions, whereas other modern technologies, including electrorheological and magnetorheological dampers, open the door to semi-active and adaptive types of suspension systems for additional comfort and controllability.
Looking for affordable and high-quality auto parts? Then you have already arrived at the proper online shop. We offer all Chrysler Cirrus Shock Absorber at great affordable prices. Moreover, all genuine Chrysler Cirrus Shock Absorber come with a manufacturer's warranty. In the long run, you would realize you have saved a lot of trouble and money with OEM parts from here.
Chrysler Cirrus Shock Absorber Parts Questions & Experts Answers
- Q: How to Remove and Inspect a rear Shock Absorber and Coil Springs on Chrysler Cirrus?A: To replace the shock absorber, lift the carpeting and unsnap the plastic cover to remove the two upper mounting nuts. Loosen the rear wheel lug nuts, raise the vehicle, and support it on jack stands. Remove the rear wheels and the shock absorber lower mounting bolt from the rear knuckle. Mount the shock assembly in a vise and mark it and use a spring compressor to relieve pressure, then unscrew the damper rod nut and remove the washer. Reassemble the shock absorber in reverse order, making sure to install the sleeve and top washer. Connect the lower end of the shock absorber to the knuckle and tighten the bolt/nut. Install the wheels, lower the vehicle, and tighten the lug nuts.
- Q: How Do You Disassemble a Shock Absorber Assembly and Coil Springs on Chrysler Cirrus?A: To disassemble the shock absorber assembly, start by removing it and reinstalling the clevis bracket. Clamp the shock absorber in a vise and compress the coil spring. Remove the damper rod nut, washer, upper control arm mounting bracket, and isolator bushings. Take off the upper and lower isolator bushings, sleeve, and upper spring isolator. Remove the washer, dust shield, compressed coil spring, jounce bumper, and sleeve. Inspect the shock absorber for rod binding and check the shock mount, upper spring seat/isolator, and coil spring for any damage. To assemble, reverse the steps. Install the sleeve on the shock absorber rod with the undercut side facing downward. Reinstall the top and bottom shock absorber rod bushings. Finally, install the shock absorber/coil spring assembly.
- Q: How to Remove front the Shock Absorber and Coil Springs on Chrysler Cirrus?A: To remove the shock absorber, start by loosening the wheel lug nuts and raising the front of the vehicle. Support it securely on jackstands and remove the wheel. Mark the shock absorbers with a R or L if they are both removed at the same time. Remove the wheel speed sensor cable bracket from the steering knuckle. Remove the cotter pin and loosen the castle nut from the upper Ball Joint stud. Detach the ball joint from the steering knuckle using a puller and remove the nut. Pull the steering knuckle outward and to the back of the front wheel opening, being careful not to strain the brake hose. Remove the shock absorber clevis pinch bolt and nut. Remove the clevis bolt from the lower Control Arm and tap the clevis from the shock absorber using a soft-faced hammer. Remove the four bolts from the shock tower attaching the upper control arm/shock absorber. Remove the upper control arm mounting bracket and shock absorber as an assembly. To inspect the shock absorber assembly, check for leaking fluid, dents, cracks, and other obvious damage. Also, check the coil spring for chips and corrosion. Replace any damaged components. To install the shock absorber, connect the assembly to the upper control arm mount and install it into the shock tower. Align the locating pins and mounting holes and tighten the four bolts. Install the clevis on the shock absorber and tap it until properly aligned and fully seated against the locating tab. Install the bolt and tighten it. Install the clevis-to-lower control arm bolt without tightening it. Install the upper ball joint into the steering knuckle, tighten the castle nut, and install a new cotter pin. Install the speed control routing cable on the steering knuckle. Use a floor jack to raise the lower control arm to simulate normal ride height and tighten the shock absorber clevis-to-lower control arm bolt. Install the wheel and lug nuts, lower the vehicle, and tighten the lug nuts.
