
My Garage
My Account
Cart
Genuine Chrysler Sebring Exhaust Manifold
Engine Exhaust Manifold- Select Vehicle by Model
- Select Vehicle by VIN
Select Vehicle by Model
orMake
Model
Year
Select Vehicle by VIN
For the most accurate results, select vehicle by your VIN (Vehicle Identification Number).
25 Exhaust Manifolds found


Chrysler Sebring Exhaust Manifold
Part Number: 4693342AD$914.10 MSRP: $1405.00You Save: $490.90 (35%)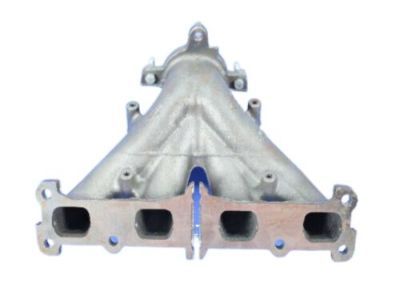


Chrysler Sebring Exhaust Manifold
Part Number: 4693321AD$316.66 MSRP: $479.00You Save: $162.34 (34%)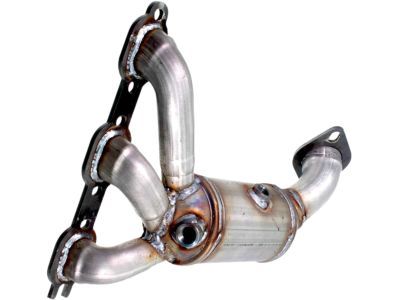


Chrysler Sebring Exhaust Manifold And Catalytic Converter
Part Number: 5171141AC$2038.20 MSRP: $3030.00You Save: $991.80 (33%)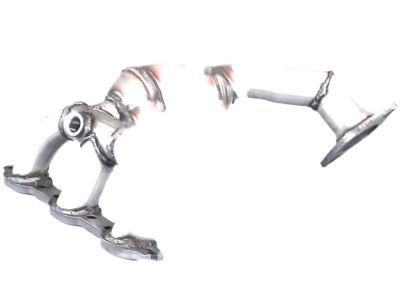
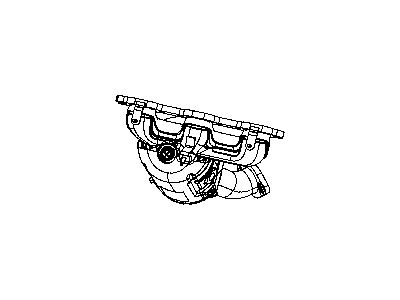
Chrysler Sebring Exhaust Manifold And Catalytic Converter
Part Number: 5171140AB$2309.40 MSRP: $3425.00You Save: $1115.60 (33%)
Chrysler Sebring Exhaust Manifold And Catalytic Converter
Part Number: 4892155AD$2659.70 MSRP: $3945.00You Save: $1285.30 (33%)
Chrysler Sebring Exhaust Manifold And Catalytic Converter
Part Number: 4892149AE$2021.25 MSRP: $3000.00You Save: $978.75 (33%)
Chrysler Sebring Exhaust Manifold And Catalytic Converter
Part Number: 4892148AE$2286.80 MSRP: $3395.00You Save: $1108.20 (33%)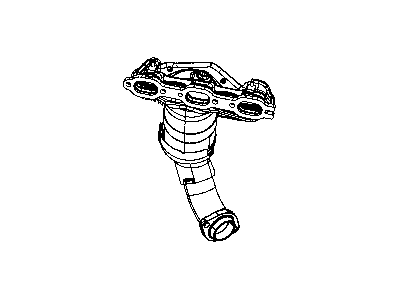
Chrysler Sebring Exhaust And Catalytic Converter
Part Number: 68042142AA$1484.50 MSRP: $2205.00You Save: $720.50 (33%)Chrysler Sebring Exhaust Manifold And Catalytic Converter
Part Number: 5171143AC$931.45 MSRP: $1360.00You Save: $428.55 (32%)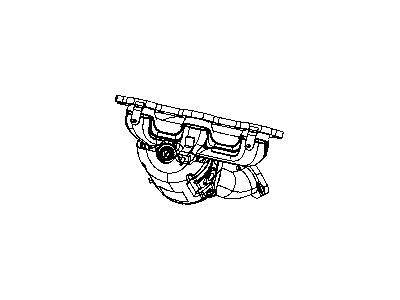
Chrysler Sebring Exhaust And Catalytic Converter
Part Number: 68042141AA$1068.66 MSRP: $1570.00You Save: $501.34 (32%)


Chrysler Sebring Exhaust Manifold And Catalytic Converter
Part Number: 4892154AD$2897.00 MSRP: $4300.00You Save: $1403.00 (33%)


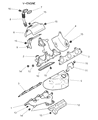


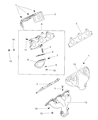


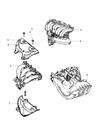


| Page 1 of 2 |Next >
1-20 of 25 Results
Chrysler Sebring Exhaust Manifold
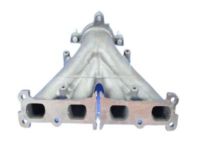
The Chrysler Sebring Exhaust Manifold is a very important part of the vehicles as it is responsible for channeling hot exhaust gases from the engine to the exhaust system hence helping in fuel efficiency and emissions. Located at variably on the engine block, the manifold is formed in a way that minimizes intake reversion which in a way reduces the flow and general efficiency of the engine. Chrysler Sebring models have fitted various kinds of exhaust manifolds normally produced from cast iron or stainless steel. headers are also available known as low restriction headers used to further reduce the restriction and allow greater flow velocity of the exhaust gases. The only primary difference between standard exhaust manifolds and headers is that while the most standard exhaust manifolds are created with a basic design in mind, headers are created with the efficiency of the flow of gases in the engine in mind. Exhaust manifold needs to be checked for a regular period and changed when required so as to avoid the possible decline in the vehicle performance and potential danger that may result from the exhaust emissions to the passengers.
Looking for affordable and high-quality auto parts? Then you have already arrived at the proper online shop. We offer all Chrysler Sebring Exhaust Manifold at great affordable prices. Moreover, all genuine Chrysler Sebring Exhaust Manifold come with a manufacturer's warranty. In the long run, you would realize you have saved a lot of trouble and money with OEM parts from here.
Chrysler Sebring Exhaust Manifold Parts Questions & Experts Answers
- Q: How to remove and install the exhaust manifold in four cylinder engine on Chrysler Sebring?A:In vehicles made in 2014 and prior years, the exhaust manifold attaches to the back of the Cylinder Head, while vehicles from 2015 on use a front attachment. To remove the exhaust manifold, first lift your car with jackstands and keep it secure. Before working on the exhaust, untie the pipe from its junction with the manifold. Depending on your model, you may need to take down the entire exhaust to create enough room to work. Rake off the bolts and shield attaching the exhaust manifold heat shield, and unbolt the manifold brace. Pull the oxygen sensor's electrical plug and take the sensor off the exhaust manifold. To remove the exhaust manifold and its current gasket, unscrew all bolts from the three main positions - left, center, and right sides. Check the exhaust manifold for cracks and repairs that need to be made, and change it if needed. Cough any dirt off the threads of exhaust manifold bolts using a wire brush, then check them for damage and replace any broken ones. Scrape off any old gasket material from both surfaces with care, but don't grind into or mar them, as leaks can happen later. Check both surfaces - exhaust manifold and cylinder head - for alignment while holding a straight-running board against them. Gauge the gap with a feeler tool. When the surface steps out of position by too much, switch to either a replacement exhaust manifold or resurface the current one. Before putting the exhaust manifold on, place a fresh gasket without applying any sealer material. Attach the exhaust manifold, and slowly tighten the bolts, working our from the center first to the designated torque. The next parts go in the opposite order they came out.
Related Chrysler Sebring Parts
 Chrysler Sebring Headlight
 Chrysler Sebring Door Lock Actuator
 Chrysler Sebring Window Regulator
 Chrysler Sebring Bumper
 Chrysler Sebring Catalytic Converter
 Chrysler Sebring Oxygen Sensor
 Chrysler Sebring EGR Valve
 Chrysler Sebring Clock Spring
 Chrysler Sebring Door Check
 Chrysler Sebring Fuel Door
 Chrysler Sebring Lift Support
 Chrysler Sebring Spare Wheel
Browse by Year
2010 Exhaust Manifold 2009 Exhaust Manifold 2008 Exhaust Manifold 2007 Exhaust Manifold 2006 Exhaust Manifold 2005 Exhaust Manifold 2004 Exhaust Manifold 2003 Exhaust Manifold 2002 Exhaust Manifold 2001 Exhaust Manifold 2000 Exhaust Manifold 1999 Exhaust Manifold 1998 Exhaust Manifold 1997 Exhaust Manifold 1996 Exhaust Manifold 1995 Exhaust Manifold