My Garage
My Account
Cart
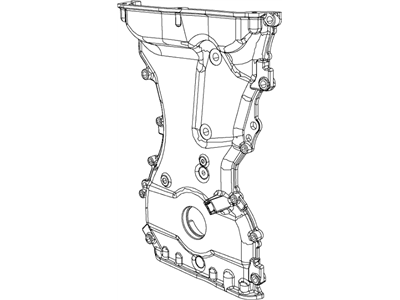
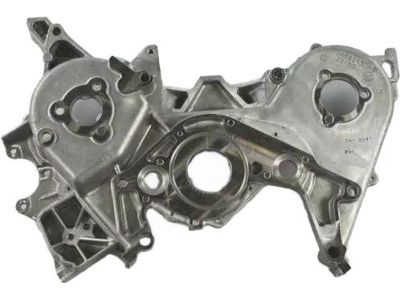
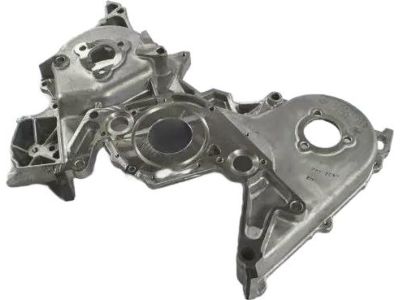
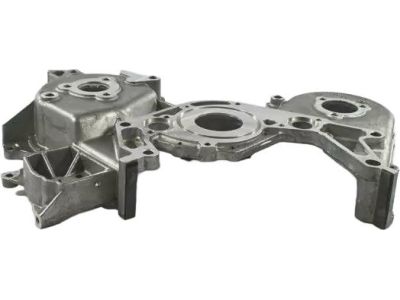
Genuine Dodge Avenger Timing Cover
Engine Timing Cover- Select Vehicle by Model
- Select Vehicle by VIN
Select Vehicle by Model
orMake
Model
Year
Select Vehicle by VIN
For the most accurate results, select vehicle by your VIN (Vehicle Identification Number).
19 Timing Covers found
Dodge Avenger Timing Cover
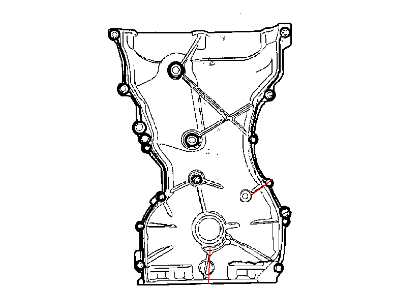
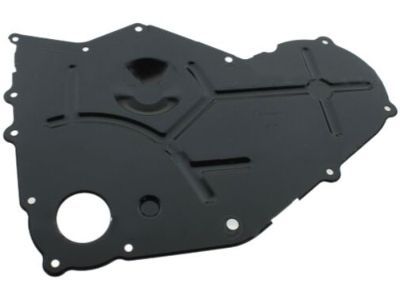
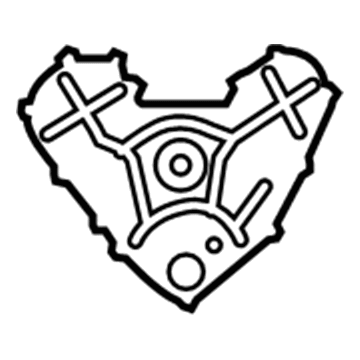
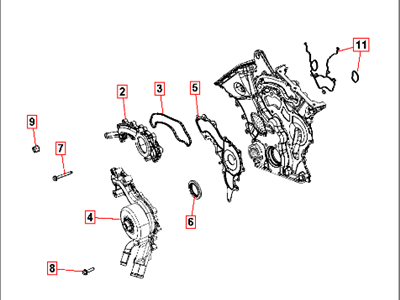
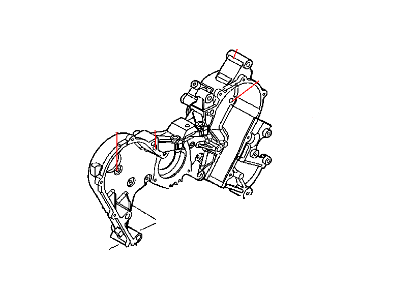
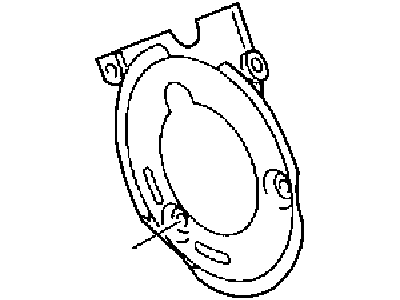
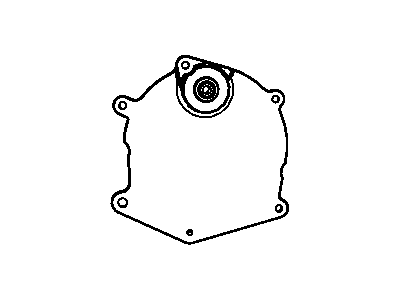
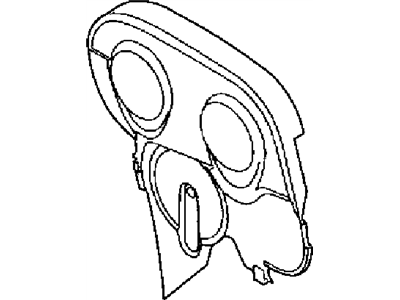
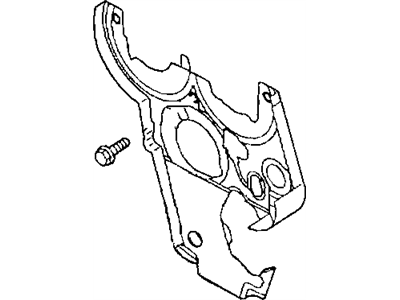
A timing cover of Dodge Avenger vehicles is vital in protecting the engine timing system which may incorporate the use of a timing belt, timing chain or cam belt. Made from durable materials including aluminum, plastic or steel the Timing Cover shields the brittle teeth of these parts from getting damaged by debris. Most of the Dodge Avenger Timing Covers come with gaskets which help increase the shield of the timing belt. Although Timing Covers are very strong, they may break down at one point, which means they should be replaced on time to ensure safe operation of the vehicle. Although the overview does not focus on differences between various types or sorts of Timing Covers regarding different models of Dodge Avenger, it is still necessary to notice their protective role and the necessity of proper maintenance of these components for ensuring proper operation of the given autos' engines.
Looking for affordable and high-quality auto parts? Then you have already arrived at the proper online shop. We offer all Dodge Avenger Timing Cover at great affordable prices. Moreover, all genuine Dodge Avenger Timing Cover come with a manufacturer's warranty. In the long run, you would realize you have saved a lot of trouble and money with OEM parts from here.
Dodge Avenger Timing Cover Parts Questions & Experts Answers
- Q: How to remove and reinstall the timing chain and Cover in 3.6L V6 engine on Dodge Avenger?A:The timing is precise; an error is costly, damaging the engine beyond repair in the process. This procedure should only be done by highly technical personnel and any doubt, consultation with a specialist is recommended. Recheck all works before starting the engine. Excessive movement of the crank shaft or cam shafts should not be done at this stage as this may cause further damage to the valves. A number of specialised implements are used to perform these procedures; make sure they are procured before operation commences. First, remove the negative battery terminal, and then cap the fuel injectors and exhaust and evaporative system, then remove the right-front wheel, lower the vehicle properly as much as possible, and finally drain the engine coolant and oil. Unbolt the right-front wheel and the drive-belt splash shield, then unlock the drivebelt, tensioner and idler pulley. Then, it is required to take off the thermostat housing, upper radiator hose and heater hose from the water pump and shift the heater core supply pipe aside. The two magnetic timing wheels should not come in contact with these magnets; so remove the power steering pump, crankshaft pulley, and valve covers. Lift the upper and lower oil pans, set the engine mount crossmember in place temporarily and raise the engine to take out the right mount and bracket. Loosen and pull out the timing cover fasteners and, if required, pry out the cover; also, discard the coolant housing and water pump seals. As a preparation, screw in loosely the crankshaft pulley bolt and with the crankshaft at TDC number 1 on the exhaust stroke, align the timing marks. Check whether the camshaft phaser marks are aligned, and phaser marks with the plated links, if they are not aligned. Insert the first and second tensioners in, if not already done so, push down the tensioner plungers, next, the timing gear splash shield can now be removed, and after that the oil pump tensioner and sprocket. Insert the camshaft phaser lock tools into position, depower the locks of the oil control valves, and come out the camshaft phasers and the timing chains. Check timing chain dampener for wear and tear and clean the timing chain as well as the sprockets replacing them if required. In addition, always turn the crankshaft manually at least two complete turns in the direction of crankshaft rotation before the start of the engine and there should be an opposition to the efforts used. There will also be need to replace the gasket material and sealant used previously as well as fitting of the chain guides and tensioners together with the keyway on the crankshaft. Locate the primary chain on the crankshaft sprocket, apply some clean engine oil on the sprockets and the chain before fitting the assembly in such a manner that they are lined up with the correct alignment marks. Fasten the idler sprocket and then fit the primary chain guide and tensioner, also fit the left and right side camshaft phasers and oil control valves in correct positions. The oil pump timing chain, its tensioner, the sprocket and splash shield are to be bolted into place and at the same time confirming that the marks tally with each other. Later, rotate the engine with your hands again to confirm the alliance of the marks. Replace the coolant housing and water pump housing gaskets, apply silicone based RTV sealant on the cover and fit it onto the alignment dowels. Screw in the cover bolts in the correct direction and then make sure you do it in an x or a crossing manner. After that, you can proceed to perform the removal process in the reverse order. Last but not least, pour oil and more coolant, turn on the engine and look for signs of leakage.


