×
- Live Chat
- 1-888-511-3595

My Garage
My Account
Cart
Genuine Ram 1500 Axle Shaft
Car Axle Shaft- Select Vehicle by Model
- Select Vehicle by VIN
Select Vehicle by Model
orMake
Model
Year
Select Vehicle by VIN
For the most accurate results, select vehicle by your VIN (Vehicle Identification Number).
41 Axle Shafts found
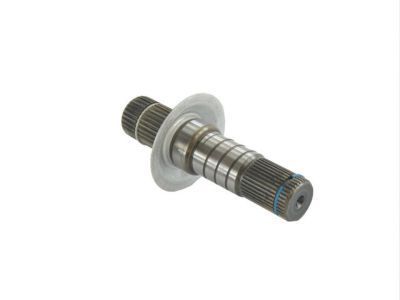
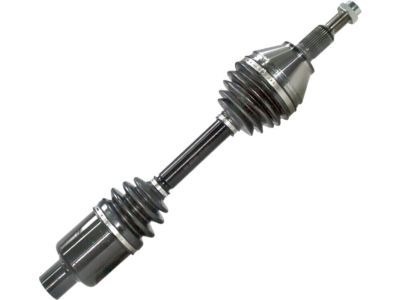
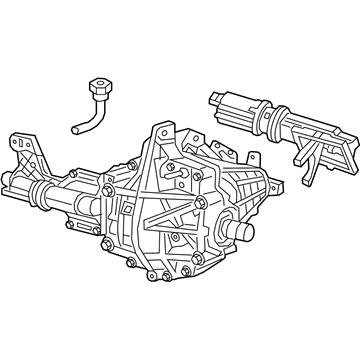
Ram 1500 Cv Intermediate Shaft Front
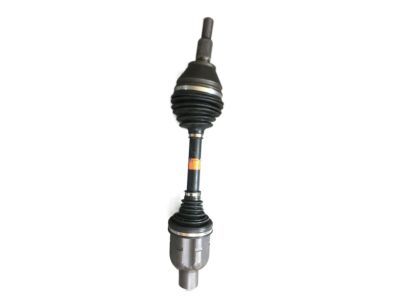
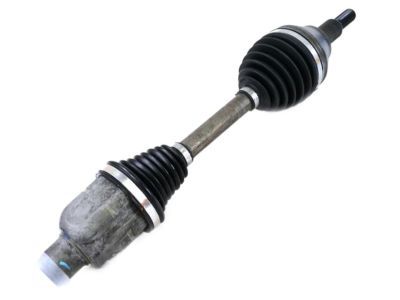
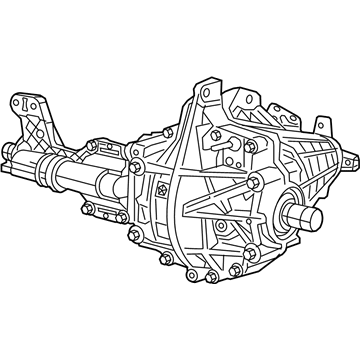
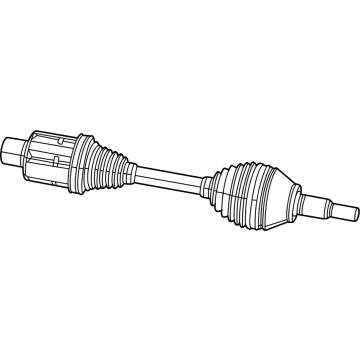
Part Number: 68146594AA$85.08 MSRP: $129.00You Save: $43.92 (35%)Ram 1500 Cv Axle Assembly-Joint Half Shaft Left
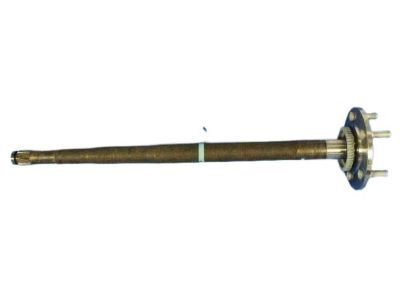
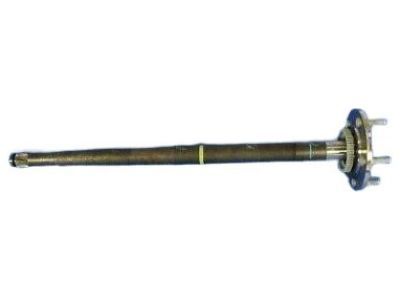
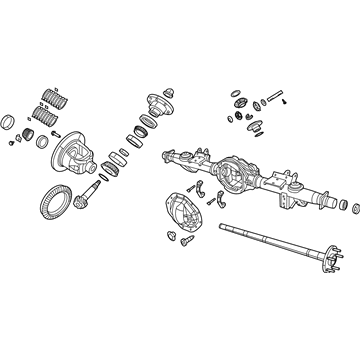
Part Number: 5170822AA$566.45 MSRP: $861.00You Save: $294.55 (35%)Ram 1500 Rear Complete
Part Number: 68272080AK$3483.00 MSRP: $5390.00You Save: $1907.00 (36%)FREE Shipping
| Page 1 of 3 |Next >
1-20 of 41 Results
Ram 1500 Axle Shaft
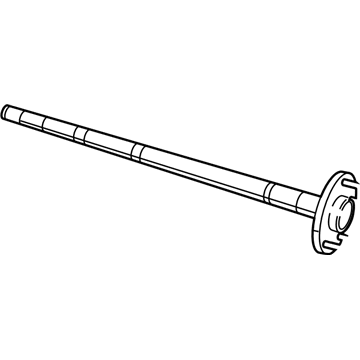
Axle Shaft of Ram 1500 vehicles is a critical transmission that transmits power from the differential to the respective drive wheel making it possible to rotate differentially by improving the traction on the ground. Depending on the model, certain problems can occur, for example, in the Ram 1500 of the 2011 and 2012 models, it is possible to have a loose rear axle pinion nut, while in the 2015 models there are cases of rear axle shaft fractures. These issues have resulted in recalls by the automaker to possibly fix what could be deemed as safety issues. Axle shafts bear part of a vehicle's weight, transmit the driving torque and ensure correct wheel positioning and there are various categories as the live axle or non-propelling axle used in the suspension and steering systems of vehicles.
Looking for affordable and high-quality auto parts? Then you have already arrived at the proper online shop. We offer all Ram 1500 Axle Shaft at great affordable prices. Moreover, all genuine Ram 1500 Axle Shaft come with a manufacturer's warranty. In the long run, you would realize you have saved a lot of trouble and money with OEM parts from here.
Ram 1500 Axle Shaft Parts Questions & Experts Answers
- Q: How to remove and install front axle assembly on 4WD Ram 1500?A: Loosen the front wheel lug nuts and raise the front of the vehicle using jack stands. Detach the vent tube from the axle and seal it. Remove the drive axles and disconnect the driveshaft from the differential pinion flange. Remove the skid plate and suspension cross member. Disconnect the wiring from the stabilizer bar disconnect device. Support the axle assembly with a floor jack under the differential. Remove any remaining interfering wiring harness clips. Remove the axle assembly pinion mounting bolts and lower the jack to roll the axle assembly from under the vehicle. Installation is the reverse of removal. For solid axle, loosen the front wheel lug nuts and raise the vehicle using jack stands. Remove the front wheels and brake calipers and discs. Disconnect the vent hose and brake hose bracket. Mark the driveshaft and disconnect it from the differential pinion flange. Disconnect the stabilizer bar links and shock absorbers from the axle brackets. Disconnect the tie-rod and drag link from the steering knuckle. Support the axle assembly with two floor jacks. Disconnect the track bar and vibration damper from the axle bracket. Mark the alignment cams and remove the control arms from the axle bracket. Lower the jacks and remove the axle from under the vehicle. Installation is the reverse of removal. Tighten all bolts to the torque.
- Q: What is the rear axle assembly and its different types on Ram 1500?A: The rear axle assembly, comprising a differential assembly and axle shafts within a hollow housing, supports the vehicle's weight through leaf springs. There are two types of rear axle assemblies: light-duty and heavy-duty. Light-duty axles are semi-floating, supporting the vehicle's weight and transmitting driving forces to the rear wheels. Heavy-duty models use a full-floating axle, where the vehicle's weight is supported by the axle housing. Full-floating axles are identifiable by a large hub from the wheel's center. Operations on these models should be limited due to the need for special tools. If repair is needed, remove the axle assembly for professional rebuilding or replacement. Ensure any replacement axle matches the original in type and gear ratio.
- Q: How to remove and install the rear axle on a Ram 1500?A: Lift the rear of the vehicle and support with jack stands. Remove rear wheels and disconnect the driveshaft, ABS sensor(s), and parking brake cable. Detach the brake line junction block and brake lines. Remove rear brake calipers and support the axle with a floor jack. Remove bolts securing rear shocks and U-bolts securing the axle. Lower and remove the axle assembly. For coil spring models, disconnect wiring from wheel speed sensors and remove them. Hang rear brake calipers out of the way and disconnect the vent hose and parking brake cables. Remove stabilizer bar clamps bolts and support the bar. Raise the axle to avoid extending shock absorbers. Unbolt the track bar and remove bolts securing control arms. Lower the axle and remove it. Installation is the reverse of removal. Tighten all fasteners and caliper mounting bolts to the torques. Refill axle with lubricant if needed.
- Q: How to remove and install rear axleshaft on Ram 1500?A: To check the axleshaft bearing, raise the vehicle, remove the wheel and brake drum, and move the axle flange to check for wear. Look for differential lubricant leakage indicating a seal issue. To remove the axleshaft, drain the differential carrier, remove the lock bolt and shaft, and remove the C-lock. Carefully withdraw the axleshaft, avoiding oil seal damage. Reinstall in reverse order, using a new gasket and correct torque. Refill with correct lubricant. For a full-floating axleshaft, loosen lug nuts, raise the vehicle, remove the wheel and flange bolts, and pull out the axleshaft. Clean the flange, inspect and replace seals and bearings if needed. Install a new gasket, apply RTV sealant, and push the axleshaft into the housing. Install flange bolts and wheel, then lower the vehicle and tighten lug nuts.
- Q: How to remove and replace front solid axleshaft and Wheel Hub on Ram 1500?A: If you're removing the axleshaft to replace the axleshaft seal or bearing, it's recommended to have the job done by a dealer service department or a qualified independent garage as replacing the seal or the bearing requires special tools. Start by loosening the wheel lug nuts, raising the vehicle and supporting it securely on jack stands, then remove the wheel. Next, remove the brake caliper and support it out of the way with wire, then remove the brake disc. On light-duty axles, remove the cotter pin and axle hub nut, while on heavy-duty models, bend the nut's collar out of the slot in the axle. Proceed to remove the hub-to-knuckle bolts and the hub bearing from the steering knuckle and axle-shaft. If the axleshaft splines stick in the hub, a two-jaw puller may be required to push the axle out. Carefully pull the axleshaft from the axle housing. On heavy-duty models, there is a large shim on the outer end of the axleshaft that must be retained. If the U-joint is worn, it can be replaced. For installation, clean the axleshaft and apply a thin film of wheel bearing grease to the shaft splines, seal contact surface and hub bore. Install the axleshaft, engaging the splines with the differential side gears, being careful not to damage the axle shaft oil seals. Install the hub bearing, the hub bearing-to-steering knuckle bolts and tighten them to the torque. Install the axleshaft washer and nut, tighten the nut to the torque, line-up the nut with the next cotter pin hole and install a new cotter pin. Install the brake disc and caliper, then install the wheel and hand tighten the wheel lug nuts. Remove the jack stands, lower the vehicle and tighten the wheel lug nuts to the torque.
- Q: How do you remove the drive axle on 4WD Ram 1500?A: To remove the Axle Shaft, start by loosening the wheel lug nuts, then raise and securely support the vehicle with jack stands, and remove the wheel(s). Next, remove the caliper and brake disc, and disconnect the ABS sensor, securing the sensor and wire harness aside. Proceed to remove the Axle Shaft/hub nut, using a pry bar between two wheel studs to prevent the hub from turning while loosening the nut. Support the lower control arm with a floor jack, slightly raising it to relieve the spring force on the upper control arm. Remove the shock absorber lower mounting bolt and the upper control arm ball joint nut, allowing you to separate the control arm from the steering knuckle. Utilizing a pry bar or slide hammer with a CV joint adapter, carefully pry the inner CV joint assembly from the front differential, ensuring not to damage the differential. Suspend the Axle Shaft with wire to prevent damage to the outer CV joint. Proceed to pull the steering knuckle out and away from the outer CV joint, using necessary tapping or pulling methods if the Axle Shaft is stuck. Once the Axle Shaft is free from the hub splines, pull out the hub/knuckle assembly, remove the support wire, and guide the Axle Shaft out from under the vehicle. For installation, reverse the removal steps, ensuring proper cleaning of splines and sealing surfaces, as well as applying grease to the inner tripod CV joint. When installing the Axle Shaft, push it in sharply to seat the set-ring on the splines of the inner CV joint and verify its proper seating. Tighten the Axle Shaft/hub nut and wheel lug nuts to specified torques and use a new upper ball joint-to-steering knuckle nut. Tighten the upper ball joint nut to the recommended torque.


