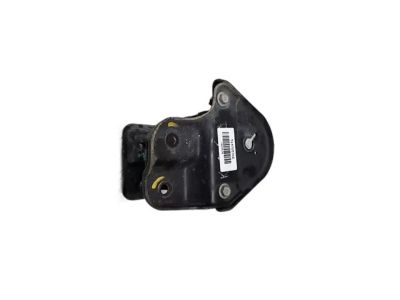
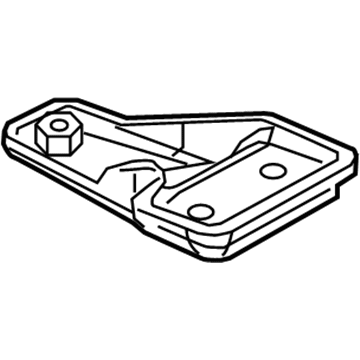
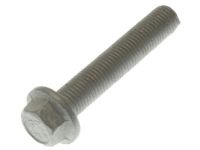
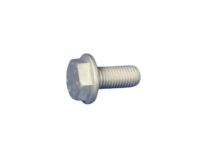
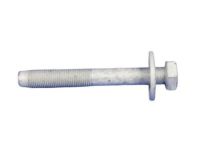
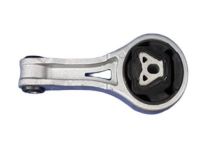
There are four powertrain mounts, the front mount connects the transaxle to the crossmember; the left mount secures the driver's side of the engine to the subframe; the right engine mount attaches the engine block to the passenger's side of the subframe; and a rear mount links the engine block to the subframe. To check the mounts, the engine must be raised slightly to relieve weight from them. Begin by raising the vehicle and securely supporting it on jackstands, then remove the front wheels and tires. Position two jacks, one under the crankshaft pulley and the other under the transaxle bellhousing, using a block of wood to protect the components while raising the engine/transaxle just enough to relieve the mounts. Inspect the mounts for any cracks, hardened rubber, or separation from the metal plates, and check for movement between the mount plates and the engine or subframe, tightening any loose fasteners as necessary. Applying rubber preservative can help slow deterioration. For the front mount replacement, raise the vehicle, remove the splash shield, support the engine with a block of wood, and remove the front mount through-bolt and crossmember-to-mount bolts before taking out the mount. If the mount bracket needs replacement, remove the bracket-to-block bolts. Installation follows the reverse order. For the left mount, disconnect the negative battery cable, raise the vehicle, remove the throttle body air inlet tube and air filter housing, support the transaxle, and raise it to relieve weight from the mount. Remove the mount-to-transaxle and mount-to-body bolts, replace the mount, and tighten the bolts to the specified torque. The installation follows the reverse order. For the right mount, remove the coolant reservoir and power steering line bracket fastener, raise the vehicle, and support the engine. Remove the engine mount bracket bolts and the engine mount bolts, then replace the mount and tighten the mount-to-body bolts to the specified torque before lowering the engine and tightening the mount-to-bracket bolts. The installation follows the reverse order. For the rear mount, raise the vehicle, remove the engine splash shield and downstream oxygen sensor, support the engine, and remove the rear mount bracket-to-subframe bolts and the mount through-bolt. Remove the mount by twisting it slightly, install the new mount into the bracket, and tighten the through-bolt by hand. Align the mount to the subframe, install and tighten the bolts to the specified torque, and finish by tightening the through bolt. The installation follows the reverse order.
Posted by MoparPartsGiant Specialist 
