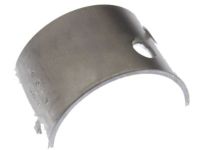
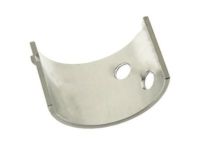
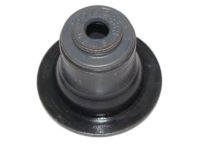
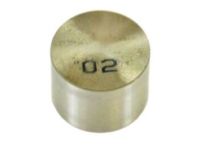
It is quite involved when it comes to the timing system and one wrong move and the engine is toast. This operation should be tried only by experienced personnel and, if in doubt, seek advice from someone more knowledgeable. Make certain of all work before starting the engine by checking entry twice. In particular, the timing chain can be unbolted from the camshafts only with the help of special tools; if such tools are not available, the timing chain cover has to be removed first. The starting point is the removal of the engine cover, the process of the negative battery cable removal, the loosening of the lugnuts of the right front wheel, lifting of the car securely on jackstands and finally the removal of the right front wheel and the drivebelt splash shield. Engines should be de-oiled, de-cooled, and have the drivebelt and air filter housing assembly dismantled. Remove the ignition coils, s take out the spark plugs and then put numbers on the ignition coils so that they may be placed in their right positions later on. Take off the valve cover, turn the crankshaft until the no. 1 piston is at the top dead center, and align the timing marks, which are to be marked on the camshaft phasers to the timing chains for reassembly. Take out the timing chain tensioner plug, raise the plunger ratchet, and fit the special locking tool to the two camshaft phasers. Remove the front camshaft bearing cap and, pulling up on it, lift the intake camshaft first, as well as the exhaust camshaft. Disassemble the gearbox and exhaust camshaft, and then discard half of the bearing and then unfasten the bolt and phaser from the end of the camshaft. Take some time to mark the lifters in case they are reinstalled to the cylinder head improperly, and then, take them off. For 2015 and later models, refer to the Mopar special tool for the procedure, remove the brake vacuum pump and the timing chain cover. Make sure that the special valve spring compressor tool is properly placed on the cylinder head and tighten the compressor assemblies just to compact the valve springs. It is necessary to install match marks on camshaft bearing caps and then remove these caps and the camshaft in reverse sequence, be very lightly while extracting the camshaft from the engine. Check the bearing surfaces of the camshaft for signs of wear and measure the camshaft lobe thickness and replace the camshaft if required. When the engine is not running; turning the crankshaft by hand through at least 720 degrees should be felt with resistance. For the 2014 and earlier models, the phaser should be slid over the camshafts and the bolt should then be installed and torqued, before the lifters are dipped in clean engine oil and the camshaft bearing journals glided with oil, and finally the timing chain should be placed over the phaser sprocket of the exhaust. The camshaft bearing caps have to be installed in the right order, bolt tightened uniformly to the bolt sequence, confirm to timing mark and finally withdrawal the tools from the timing chain tensioner and cover. Turn the engine over slowly two times, verify the tappets, put a thread sealant on the timing chain tensioner plug and screw it well. Finally, for the models of 2015 and later, lightly coat the surfaces in contact with the camshaft with clean engine oil, fit the camshaft, apply RTV sealant to the contacted surfaces, lubricate the bearing journals, and tighten, the bearing cap bolts in sequence. Lastly, release the valve spring compressor assemblies and remove the special tool, fit the timing chain and sprocket and do the reverse of the above procedure and finally fill the engine with the oil.
Posted by MoparPartsGiant Specialist 


