×
- Live Chat
- 1-888-511-3595

My Garage
My Account
Cart
Genuine Chrysler Imperial Lash Adjuster
Lash Adjuster Lifter- Select Vehicle by Model
- Select Vehicle by VIN
Select Vehicle by Model
orMake
Model
Year
Select Vehicle by VIN
For the most accurate results, select vehicle by your VIN (Vehicle Identification Number).
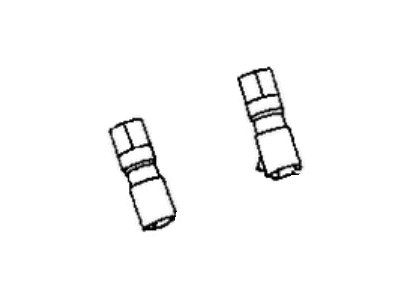
2 Lash Adjusters found
Chrysler Imperial Lash Adjuster
Looking for affordable and high-quality auto parts? Then you have already arrived at the proper online shop. We offer all Chrysler Imperial Lash Adjuster at great affordable prices. Moreover, all genuine Chrysler Imperial Lash Adjuster come with a manufacturer's warranty. In the long run, you would realize you have saved a lot of trouble and money with OEM parts from here.
Chrysler Imperial Lash Adjuster Parts Questions & Experts Answers
- Q: How do you remove and reinstall Camshaft,Lash Adjuster and Rocker Arm in 2.5L four cylinder engine on Chrysler Imperial?A: To further accessorize the valve cover, begin by unplugging the Timing Belt cover, timing belt, and camshaft sprockett; if you can use extra time, then unwind the camshaft sprockett and tether it with a wire, but it stays attached to the belt and has tension. Five bearing caps support the camshaft and are fastened with two bolts each ; these caps are numbered from 1 to 5 starting from the drivebelt side of the engine block; if such numeration is missing it is advisable to make some marks to facilitate reinstallation. Also, label the rocker arms as well as the lash adjusters for effectiveness during the time of reassembling the vehicle. Take out the bolts of all the bearing caps, but keep only numbers 2 and 4 tight, though loosened to take off strain on the valve springs. Any of the caps may stick and this should not be forced since it may damage the camshaft or housing, use a soft-face hammer to tap them into place. When the camshaft is removed and cleaned, then remove all the rocker arms and the lash adjuster and put them in bags with corresponding labels. For inspection it can be done by fixing camshaft with the help of caps 1 and 5, inserting a dial indicator and checking movement of the camshaft and compare it with specified value. To check camshaft runout, stand it and revolve it using V-block and, at the same time, observe the fluctuations of the indicator. Check journals and caps of the bearings for wear and change the parts if worn out and also consider the condition of the cam lobes, getting to the root cause of the worn out cam shaft. Rocker arms and hydraulic lash adjusters should be examined for their condition; before installing new parts, any problems with lubricants must be resolved. For installing, all the parts must be cleaned and the lash adjusters and the rocker arms must be lubricated before they can be placed in their respective positions as before. Coat lightly with a thin film of oil the camshaft bearing surfaces and proceed with the installation of the camshaft on the cylinder block making sure of its proper alignment. In this position, the extended part fits into the castellated seat of the bearing cap and the respective lube should be applied on the bearing cap and positioned before tightening in a progressive measure. It is advised that anaerobic-type sealant should be applied on the contact surfaces of the end caps and that the fasteners should be tightened in a star or cross fashion. Last but not the least, replace the camshaft sprocket, timing belt and such other components; to make certain that the valve timing is accurate, rotate the crankshaft two times after installing all these parts. In case, any resistance is felt while rotating it then the valve timing should be checked at once.


