×
- Live Chat
- 1-888-511-3595

My Garage
My Account
Cart
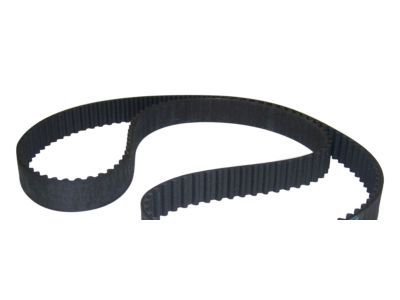
Genuine Chrysler Imperial Timing Belt
Engine Timing Belt- Select Vehicle by Model
- Select Vehicle by VIN
Select Vehicle by Model
orMake
Model
Year
Select Vehicle by VIN
For the most accurate results, select vehicle by your VIN (Vehicle Identification Number).
2 Timing Belts found
Chrysler Imperial Timing Belt
Looking for affordable and high-quality auto parts? Then you have already arrived at the proper online shop. We offer all Chrysler Imperial Timing Belt at great affordable prices. Moreover, all genuine Chrysler Imperial Timing Belt come with a manufacturer's warranty. In the long run, you would realize you have saved a lot of trouble and money with OEM parts from here.
Chrysler Imperial Timing Belt Parts Questions & Experts Answers
- Q: How do you remove and install a timing belt in 2.5L four cylinder engine on Chrysler Imperial?A: To remove the timing belt, start by detaching the cable from the negative battery terminal and removing all accessory drivebelts. Next, remove the bolts to detach the water pump pulley, followed by the crankshaft pulley bolts. Raise the vehicle securely on jackstands and remove the right inner splash shield before taking off the crankshaft pulley. Remove the screws and nuts holding the timing belt cover to the cylinder head and block, then take off both halves of the timing belt cover. Position the number one piston at Top Dead Center on the compression stroke, ensuring the marks on the crankshaft and intermediate shaft sprocket are aligned, and the arrows on the camshaft sprocket line up with the bearing cap parting line. Loosen the center bolt to release tension from the timing belt and remove it along with the tensioner. If equipped with air conditioning, remove the compressor and bracket, and support the engine with a block of wood and a floor jack to remove the Engine Mount. Inspect the tensioner pulley for roughness and excessive play, and replace if necessary. Check the timing belt for cracks, wear, and contamination, replacing it if damaged. Visually inspect the sprockets for wear and damage, replacing any that are compromised, and check for leaking engine oil below each sprocket, replacing seals as needed. For sprocket removal, hold the intermediate shaft sprocket with a pin spanner while loosening the bolt, then pull the sprocket off. Use a puller to remove the crankshaft sprocket and detach the camshaft sprocket by holding it and removing the bolt. Ensure the Woodruff keys are in place before installing the crankshaft and intermediate shaft sprockets, aligning the marks. Install and tighten the crankshaft sprocket bolt, followed by the intermediate shaft sprocket bolt, ensuring the marks remain aligned. Install the camshaft sprocket and bolt, tightening it to the specified torque while aligning the triangles on the sprocket hub with the camshaft bearing cap parting line. When installing the timing belt, ensure the marks on the sprockets are aligned, install the belt without turning any sprockets, and install the tensioner pulley with the bolt finger tight. With assistance, apply tension to the timing belt and temporarily tighten the tensioner bolt, measuring the deflection to approximately 5/16-inch. Turn the crankshaft two complete revolutions clockwise to align the belt on the pulleys, rechecking the belt deflection and tightening the tensioner pulley. Finally, verify the camshaft timing mark with the timing belt cover installed and the number one piston at TDC, ensuring the small hole in the camshaft sprocket is centered in the timing belt cover hole, and complete the installation in reverse order of removal.


