My Garage
My Account
Cart
Genuine Chrysler PT Cruiser Coil Springs
Strut Spring- Select Vehicle by Model
- Select Vehicle by VIN
Select Vehicle by Model
orMake
Model
Year
Select Vehicle by VIN
For the most accurate results, select vehicle by your VIN (Vehicle Identification Number).
86 Coil Springs found
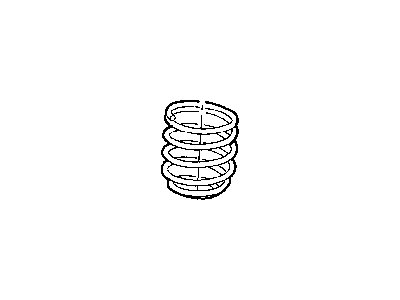
Chrysler PT Cruiser Front Suspension Coil Spring
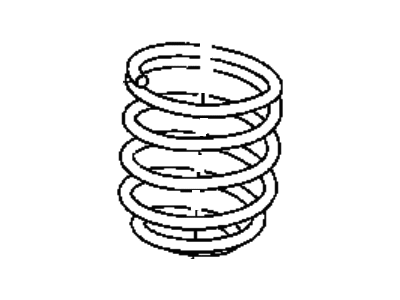
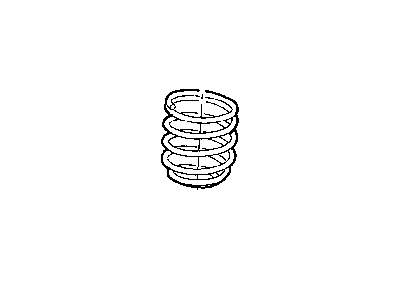
Part Number: 4656529AC$4.66 MSRP: $84.55You Save: $79.89 (95%)Chrysler PT Cruiser Front Suspension Coil Spring
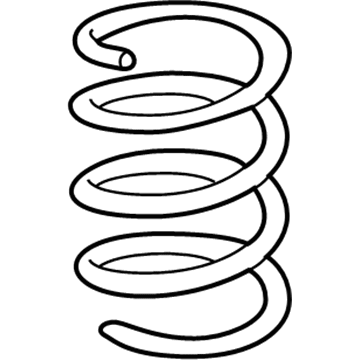
Part Number: 5272464AC$57.94 MSRP: $85.85You Save: $27.91 (33%)Chrysler PT Cruiser Front Suspension Coil Spring
Part Number: 5272469AC$60.13 MSRP: $89.10You Save: $28.97 (33%)Chrysler PT Cruiser Rear Coil Springs
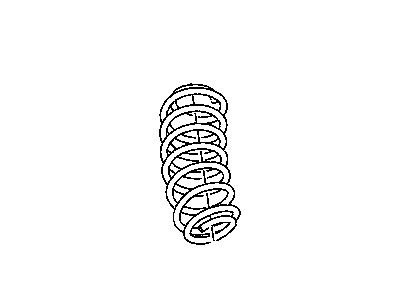
Part Number: 4656542AB$60.35 MSRP: $89.20You Save: $28.85 (33%)Chrysler PT Cruiser Front Suspension Coil Spring
Part Number: 5272462AC$57.03 MSRP: $81.60You Save: $24.57 (31%)Chrysler PT Cruiser Front Suspension Coil Spring
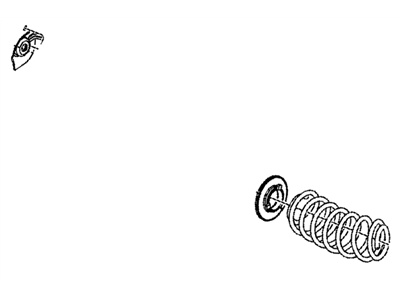
Part Number: 5272463AC$57.03 MSRP: $81.60You Save: $24.57 (31%)Chrysler PT Cruiser Rear Suspension-Coil Spring
Part Number: 4656542AC$56.07 MSRP: $89.20You Save: $33.13 (38%)Chrysler PT Cruiser Front Suspension Coil Spring
Part Number: 5105052AB$11.19 MSRP: $64.40You Save: $53.21 (83%)Chrysler PT Cruiser Rear Suspension-Coil Spring
Part Number: 4656543AC$46.43 MSRP: $66.85You Save: $20.42 (31%)Chrysler PT Cruiser Front Suspension Coil Spring
Part Number: 4656523AD$11.63 MSRP: $66.95You Save: $55.32 (83%)Chrysler PT Cruiser Rear Coil Spring
Part Number: 5272451AB$12.26 MSRP: $70.60You Save: $58.34 (83%)Chrysler PT Cruiser Rear Suspension-Coil Spring
Part Number: 5272885AA$13.65 MSRP: $78.60You Save: $64.95 (83%)
| Page 1 of 5 |Next >
1-20 of 86 Results
Chrysler PT Cruiser Coil Springs
Chrysler PT Cruiser Coil Springs are part pieces that bear the weight of the car and the bumps on the surface, to tire and cause the saggins and unbalance, changing the height of the car. Coil springs vary in design and their stiffness or rate of compression which including the linear rate spring, the progressive spring, and the dual rate spring. Often times coil springs may wear out or get damaged, and by getting OEM spec replacement or even better, going for variable rate or cargo coils; the drivers stand to gains enhanced ride, better handling and correct wheel alignment. Also, there are adjustable coilovers and height adjustable springs and these are great for maintaining the adjustability of gap in between the tires and the fenders for different wheel and tires.
Looking for affordable and high-quality auto parts? Then you have already arrived at the proper online shop. We offer all Chrysler PT Cruiser Coil Springs at great affordable prices. Moreover, all genuine Chrysler PT Cruiser Coil Springs come with a manufacturer's warranty. In the long run, you would realize you have saved a lot of trouble and money with OEM parts from here.
Chrysler PT Cruiser Coil Springs Parts Questions & Experts Answers
- Q: How to Remove and Install Coil Springs on a Chrysler PT Cruiser?A:Loosen the wheel lug nuts and chock the front wheels to prevent rolling. Raise the rear of the vehicle and support it securely on jackstands placed under the rear jacking points. Remove the wheels. Remove the nut and pivot bolt securing the Watts linkage bell crank to the rear axle. Unbolt the rear stabilizer bar bushing clamps from the rear axle. Support the center of the rear axle with a floor jack. Raise the jack(s) slightly to take the spring pressure off the shock absorber lower mounts. Remove the shock absorber lower mounting bolts. Slowly lower the floor jack(s) until the coil springs are fully extended. Remove the coil springs and the upper and lower insulators. Check the spring for cracks and chips, replacing the springs as a set if any defects are found. Also check the insulators for damage and deterioration, replacing them as necessary. Installation is the reverse of the removal procedure, but make sure the coil springs are positioned properly against their upper mounts. Before tightening any of the suspension fasteners to the torque values, raise the rear axle to normal ride height with the floor jack(s). Install the wheel and lug nuts. Lower the vehicle and tighten the lug nuts to the torque.
- Q: How to Disassemble and Reassemble a Strut and Spring Assembly on Chrysler PT Cruiser?A:You'll need a spring compressor for this procedure. Spring compressors are available on a daily rental basis at most auto parts stores or equipment yards. If the struts or coil springs exhibit signs of wear such as leaking fluid, loss of damping capability, or chipped, sagging, or cracked coil springs, explore all options before beginning any work. The strut/coil spring assemblies are not serviceable and must be replaced if a problem develops. However, strut assemblies complete with springs may be available on an exchange basis, which eliminates much time and work. Whichever route you choose to take, check on the cost and availability of parts before disassembling your vehicle. To disassemble, remove the strut and spring assembly. Mount the strut clevis bracket portion of the strut assembly in a vise, being careful not to clamp any other portion of the strut assembly. Install the spring compressor on the spring and compress it sufficiently to relieve all pressure from the upper spring seat. While holding the damper shaft from turning, loosen the shaft nut with a socket. Remove the nut and suspension support, inspecting the bearing and rubber portion for any issues. Remove the upper spring seat and dust boot from the damper shaft, as well as the rubber bumper. Carefully lift the compressed spring from the assembly and set it in a safe place, making sure to mark it for reinstallation. To reassemble, extend the damper rod and install the rubber bumper. Position the coil spring with the smaller coils going on first and carefully place it onto the damper shaft. Install the rubber bumper and push it all the way down. Install the upper spring seat and dust boot onto the damper shaft. Install the suspension support, aligning the support notch with the clevis bracket on the strut support. Install the nut and tighten it to the specified torque. Loosen the coil spring compressor(s) until the top coil is properly seated against the upper spring seat and suspension support. Relieve all tension from the spring compressor(s) and remove them from the coil spring. Finally, install the strut/spring assembly.
