×
- Live Chat
- 1-888-511-3595

My Garage
My Account
Cart
Genuine Dodge Challenger Lash Adjuster
Lash Adjuster Lifter- Select Vehicle by Model
- Select Vehicle by VIN
Select Vehicle by Model
orMake
Model
Year
Select Vehicle by VIN
For the most accurate results, select vehicle by your VIN (Vehicle Identification Number).
35 Lash Adjusters found
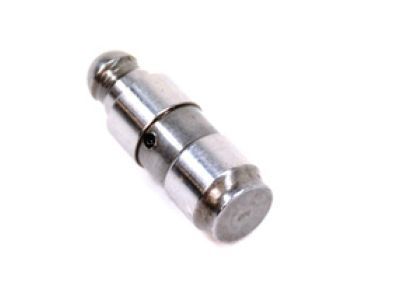
Dodge Challenger Lifter-Hydraulic Roller
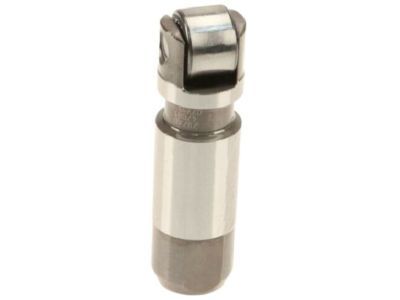
Part Number: 5038787AD$69.30 MSRP: $105.00You Save: $35.70 (34%)Dodge Challenger Hydraulic Roller Lifter
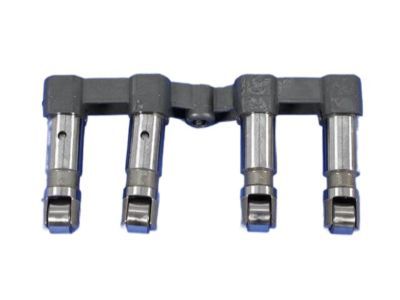
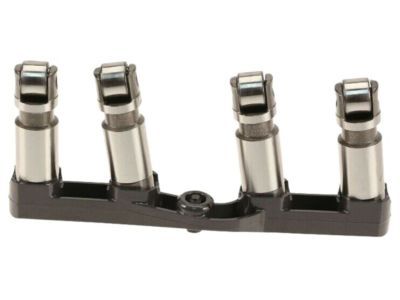
Part Number: 53021572AF$78.75 MSRP: $105.00You Save: $26.25 (25%)Dodge Challenger Hydraulic Engine Lifters And Yoke
Part Number: 53021728BC$252.50 MSRP: $338.00You Save: $85.50 (26%)Dodge Challenger Hydraulic Engine Lifters And Yoke
Part Number: 53021726BB$252.50 MSRP: $338.00You Save: $85.50 (26%)Dodge Challenger Hydraulic Engine Lifters And Yoke
Part Number: 5038785AC$252.50 MSRP: $338.00You Save: $85.50 (26%)Dodge Challenger Hydraulic Engine Lifters And Yoke
Part Number: 5038785AA$252.50 MSRP: $338.00You Save: $85.50 (26%)Dodge Challenger Hydraulic Engine Lifters And Yoke
Part Number: 5038786AC$252.50 MSRP: $338.00You Save: $85.50 (26%)Dodge Challenger Hydraulic Engine Lifters And Yoke
Part Number: 53021728BB$252.50 MSRP: $338.00You Save: $85.50 (26%)Dodge Challenger Hydraulic Engine Lifters And Yoke
Part Number: 5038785AB$252.50 MSRP: $338.00You Save: $85.50 (26%)Dodge Challenger Hydraulic Roller Deactivating Lifter
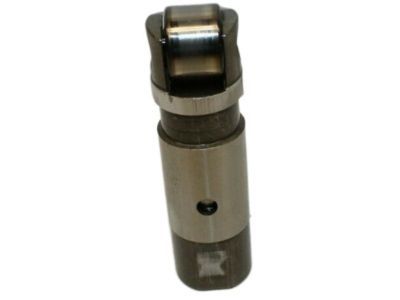
Part Number: 5038788AC$109.30 MSRP: $229.00You Save: $119.70 (53%)Dodge Challenger Hydraulic Roller Deactivating Lifter
Part Number: 5038788AB$109.30 MSRP: $229.00You Save: $119.70 (53%)Dodge Challenger Hydraulic Engine Lifters And Yoke
Part Number: 53021726BC$222.20 MSRP: $338.00You Save: $115.80 (35%)Dodge Challenger Hydraulic Engine Lifters And Yoke
Part Number: 53021720AE$147.58 MSRP: $222.00You Save: $74.42 (34%)Dodge Challenger Hydraulic Engine Lifters And Yoke
Part Number: 53021720AD$147.58 MSRP: $222.00You Save: $74.42 (34%)Dodge Challenger TAPPET-Hydraulic Roller DEACTIVATI
Part Number: 5038788AD$109.30 MSRP: $229.00You Save: $119.70 (53%)
| Page 1 of 2 |Next >
1-20 of 35 Results
Dodge Challenger Lash Adjuster
Looking for affordable and high-quality auto parts? Then you have already arrived at the proper online shop. We offer all Dodge Challenger Lash Adjuster at great affordable prices. Moreover, all genuine Dodge Challenger Lash Adjuster come with a manufacturer's warranty. In the long run, you would realize you have saved a lot of trouble and money with OEM parts from here.
Dodge Challenger Lash Adjuster Parts Questions & Experts Answers
- Q: How to remove and install rocker arms and lash adjusters in 2.7L V6 engine on Dodge Challenger?A: A universal shaft-type valve spring compressor is required for this procedure, as the only alternative involves major disassembly of the engine and surrounding components by removing the Timing Chains and camshafts. Before starting, ensure the transmission is in Neutral, the parking brake is applied or the rear wheels are blocked, and the ignition system is disabled by disconnecting the primary electrical connectors at the ignition coils and removing the spark plugs. Next, remove the upper Intake Manifold and the valve cover(s). Rotate the engine with a socket and ratchet attached to the crankshaft pulley bolt until the cam lobe for the rocker arm to be removed is positioned on its base circle, turning the crankshaft in a clockwise direction. Prior to removing the rocker arms and lash adjusters, label and store them to keep them separate for reinstallation on the same valves. Mount the valve spring compressor on the cylinder head and depress the valve spring just enough to relieve tension on the rocker arm, allowing for its removal. If replacing or removing all rocker arms or lash adjusters, start with cylinder number one and work on one cylinder at a time, following the firing order while keeping the rocker arm and lash adjuster for each valve together. After removing the rocker arms, pull the lash adjusters out of the cylinder head and store them with the corresponding rocker arm. Inspect each rocker arm for wear, cracks, and other damage, ensuring the rollers turn freely and checking the pivot area for any issues. Also, inspect the lash adjuster contact surfaces for wear or damage, confirming that they move freely in their bores without excessive side-to-side play. Installation is the reverse of removal, with the exception that the lash adjuster should be installed first, ensuring they are at least partially full of oil, indicated by little or no plunger travel.


