My Garage
My Account
Cart
Genuine Dodge Charger Oil Filter
Engine Oil filter- Select Vehicle by Model
- Select Vehicle by VIN
Select Vehicle by Model
orMake
Model
Year
Select Vehicle by VIN
For the most accurate results, select vehicle by your VIN (Vehicle Identification Number).
20 Oil Filters found


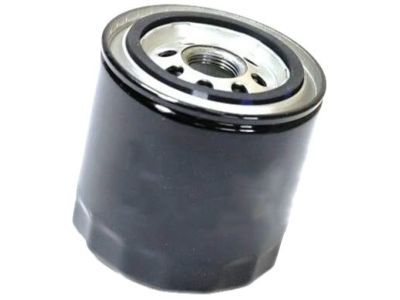
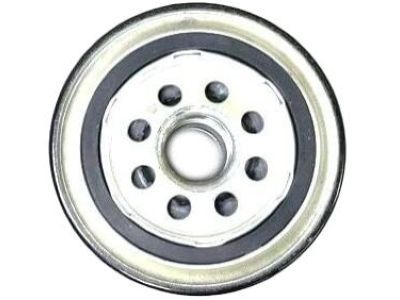
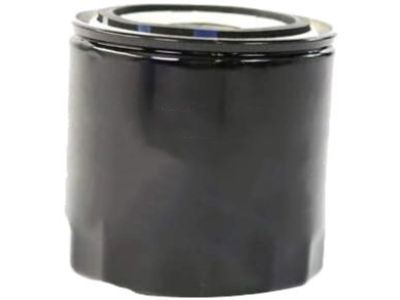
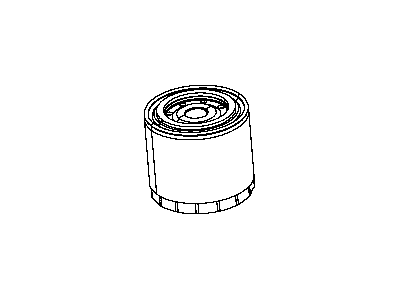
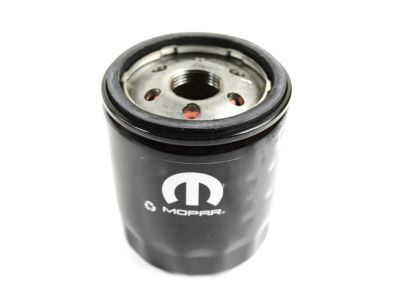
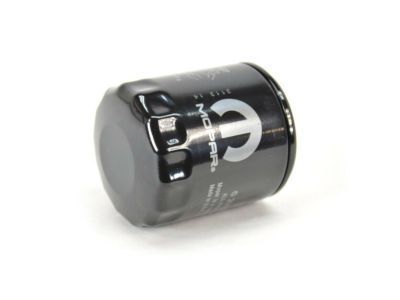
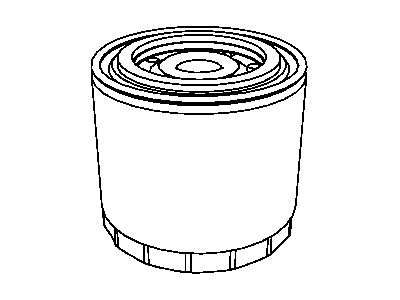
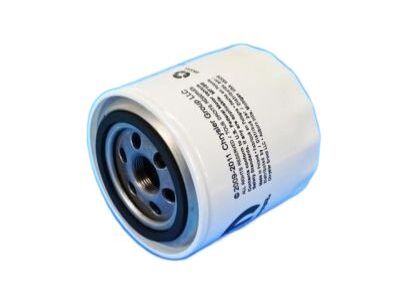
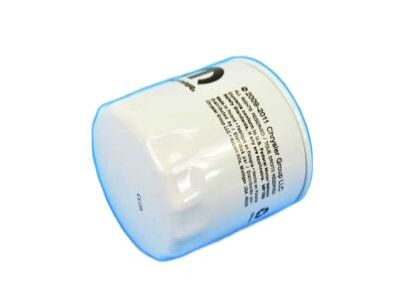
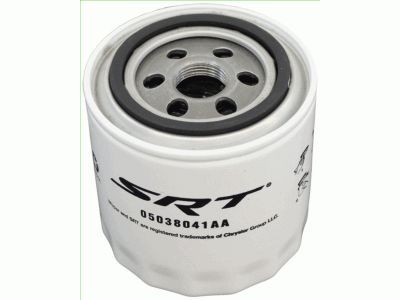
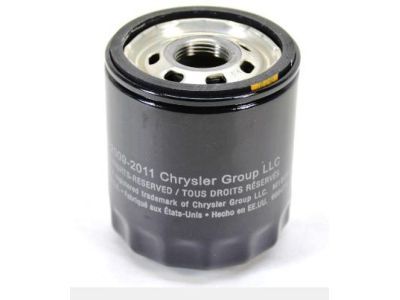
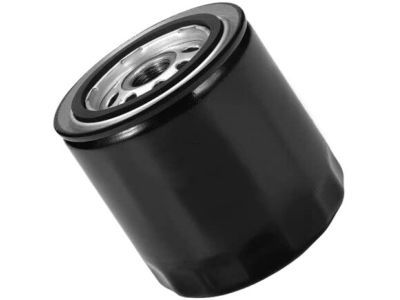
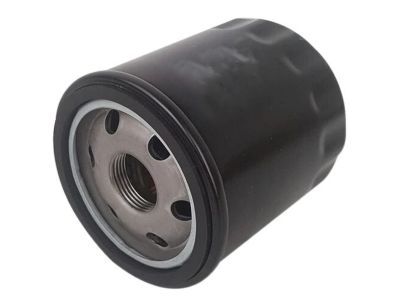
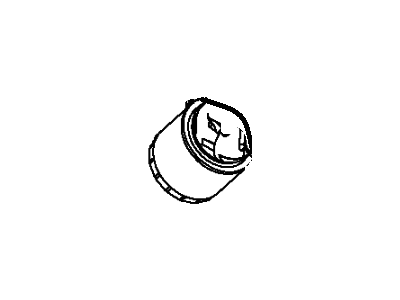
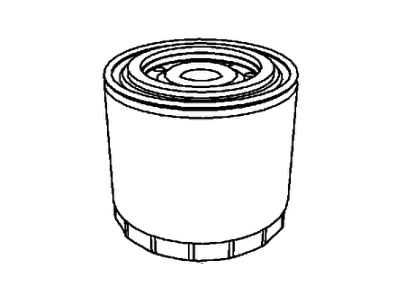
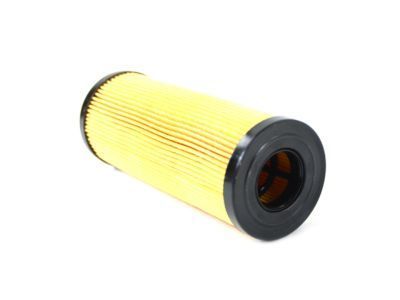
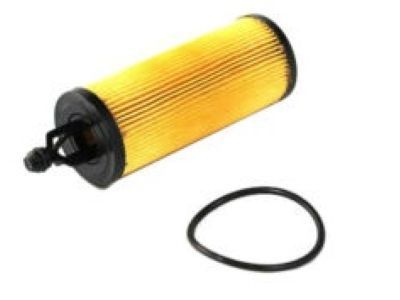
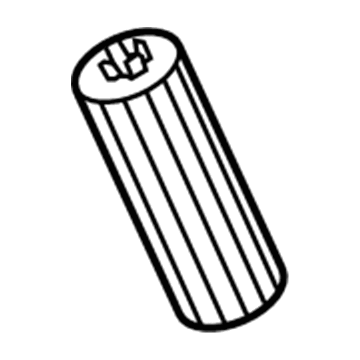
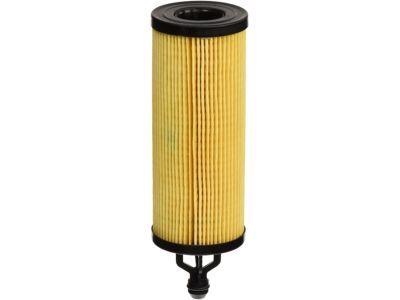
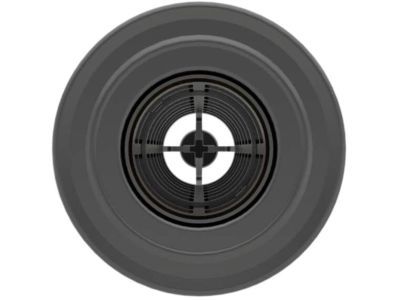
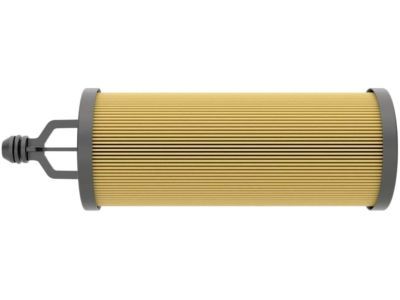
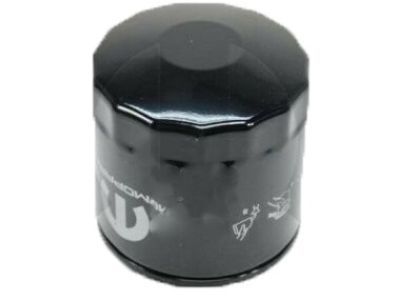
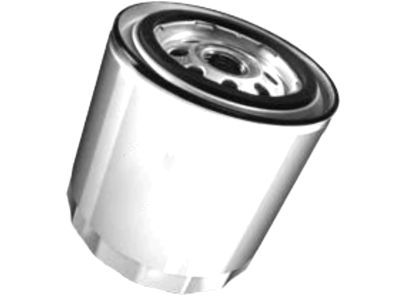
Dodge Charger Mopar Performance Oil Filter
Part Number: 5038041AA$12.56 MSRP: $19.00You Save: $6.44 (34%)


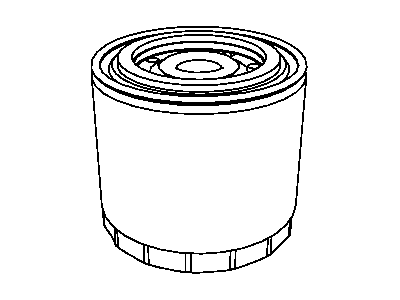
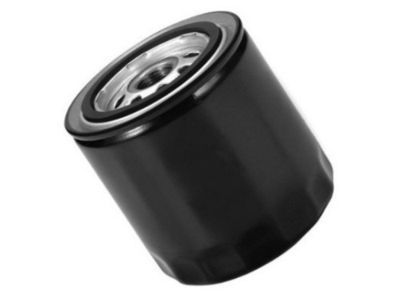
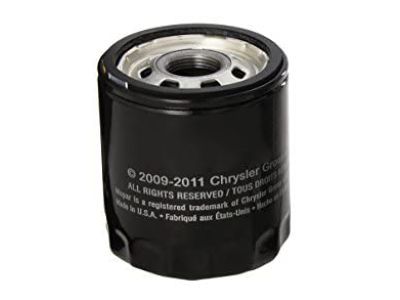
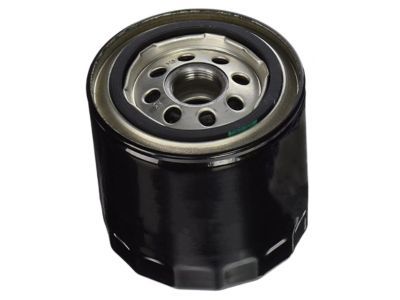
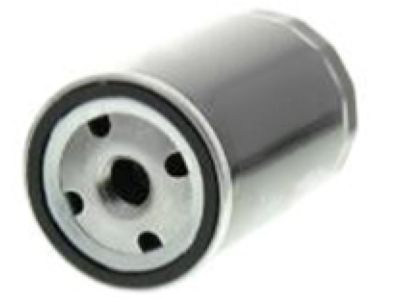
Dodge Charger Oil Filter
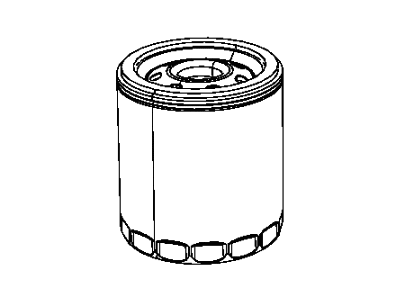
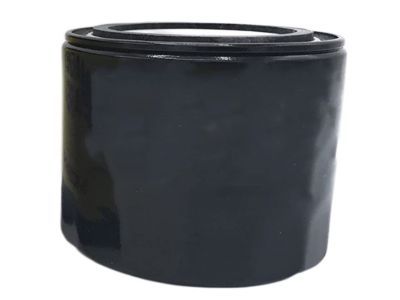
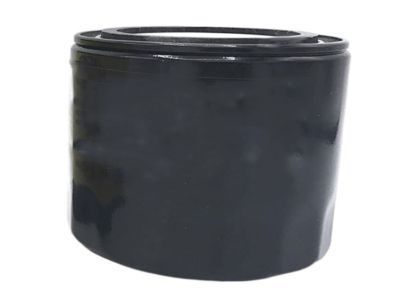
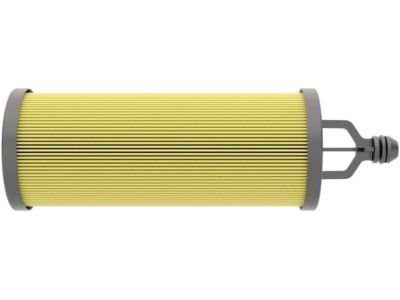
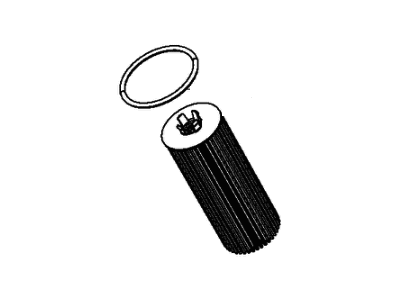
The Oil Filter of Dodge Charger automobiles is an essential component responsible for filtering out impurities, thus maintaining the efficiency of engine oil. Regardless of the media used, cellulose or synthetic, these are able to achieve the required efficiency and capacity, while some models include the replaceable element cartridge filters and spin-on filters. They are particularly designed to sustain the oil pressures and the flow rates that ensures that they do not cause any harm to the engines while providing the premier filtration. Dodge Charger Oil Filters have also improved with time and filter technology since its function is to contribute to better performance and durability of the engine through making sure the engine oil is clean.
Looking for affordable and high-quality auto parts? Then you have already arrived at the proper online shop. We offer all Dodge Charger Oil Filter at great affordable prices. Moreover, all genuine Dodge Charger Oil Filter come with a manufacturer's warranty. In the long run, you would realize you have saved a lot of trouble and money with OEM parts from here.
Dodge Charger Oil Filter Parts Questions & Experts Answers
- Q: How to change Oil Filter on Dodge Charger?A:For effective engine maintenance, it's important to adhere to recommended oil change intervals, especially if your vehicle is equipped with an oil life indicator system, which suggests oil changes based on various factors. Frequent oil changes are crucial for preventing premature engine wear as aged oil can become diluted and contaminated. Prior to starting this procedure, ensure you have the necessary tools and plenty of rags or newspapers for spills. Accessibility to the vehicle's underside is enhanced with a hoist, ramps, or jack stands. Familiarize yourself with the oil drain plug and oil filter locations, keeping in mind that engine components will be hot during the process. Park on a level surface, warm the engine to its operating temperature, and turn it off before removing the filler cap. Raise the vehicle, place a drain pan under the drain plug, and remove the plug to drain the old oil. Inspect the drained oil for metal particles and chips. After draining, clean the drain plug and surrounding area before reinstalling it securely. Reposition the drain pan under the oil filter, loosen and remove the old filter, and clean the mounting surface. Apply clean engine oil to the rubber gasket of the new filter and attach it to the engine, following tightening instructions. Lower the vehicle and add new oil through the filler cap, checking the dipstick for proper oil level. Start the engine briefly and check for leaks. Dispose of the old oil properly, and if your vehicle has an oil change indicator, reset it by following the provided steps.
Related Dodge Charger Parts
Browse by Year
2023 Oil Filter 2022 Oil Filter 2021 Oil Filter 2020 Oil Filter 2019 Oil Filter 2018 Oil Filter 2017 Oil Filter 2016 Oil Filter 2015 Oil Filter 2014 Oil Filter 2013 Oil Filter 2012 Oil Filter 2011 Oil Filter 2010 Oil Filter 2009 Oil Filter 2008 Oil Filter 2007 Oil Filter 2006 Oil Filter 1987 Oil Filter 1986 Oil Filter 1985 Oil Filter 1984 Oil Filter


