×
- Live Chat
- 1-888-511-3595
My Garage
My Account
Cart
Genuine Chrysler 300 MAP Sensor
Manifold Air Pressure Sensor- Select Vehicle by Model
- Select Vehicle by VIN
Select Vehicle by Model
orMake
Model
Year
Select Vehicle by VIN
For the most accurate results, select vehicle by your VIN (Vehicle Identification Number).
16 MAP Sensors found
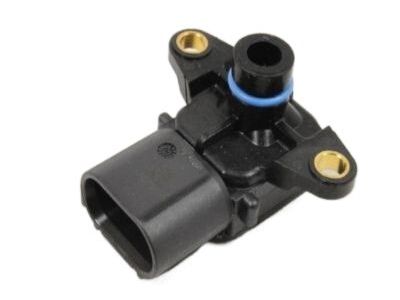
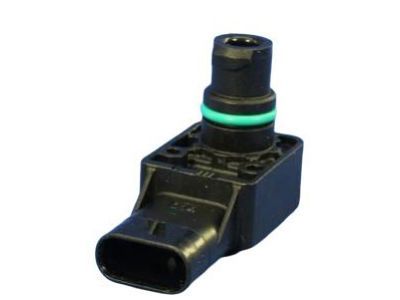
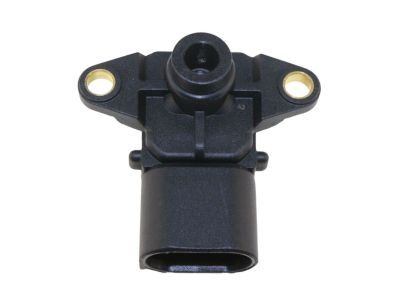

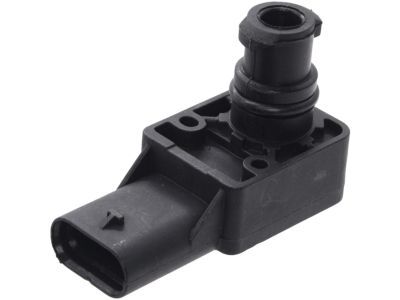

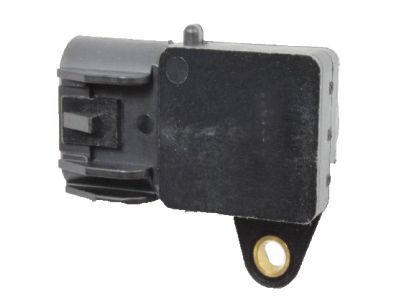


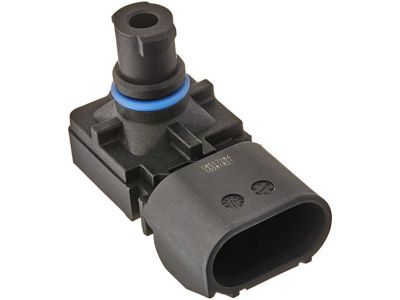


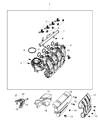

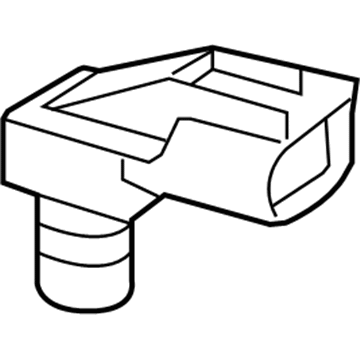


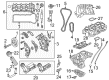
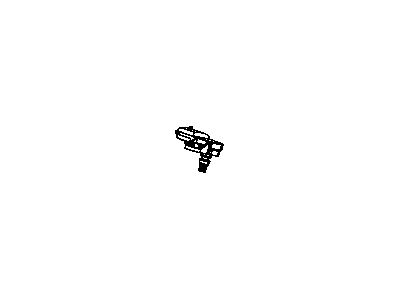
Chrysler 300 Sensor-Intake Manifold
Part Number: 68153918AA$87.59 MSRP: $131.00You Save: $43.41 (34%)

Chrysler 300 MAP Sensor
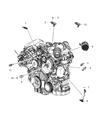
Chrysler 300 has a MAP Sensor that measures the positive air pressure that is charged into the intake manifold for operations as the ECU in determining the injection of fuel as per the car's speed. This sensor is necessary to determine the density of the air and finding out the correct proportion of air and fuel for combustion especially for the speed-density method. The naturally aspirated Chrysler 300 vehicles may in corporated either of a MAF sensor or a MAP sensor while the forced induction engines integrated both. The utilization of the MAP sensor in the on board diagnostics (OBD II) as well as in the functional check on the exhaust gas recirculation (EGR) valve accentuates the significance of the said component for appropriate and accurate measurement of fuel consumption as well as the correct ignition sequence and engine output.
Looking for affordable and high-quality auto parts? Then you have already arrived at the proper online shop. We offer all Chrysler 300 MAP Sensor at great affordable prices. Moreover, all genuine Chrysler 300 MAP Sensor come with a manufacturer's warranty. In the long run, you would realize you have saved a lot of trouble and money with OEM parts from here.
Chrysler 300 MAP Sensor Parts Questions & Experts Answers
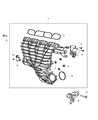
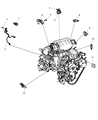
- Q: Where is the MAP Sensor Located on a Chrysler 300?A: To remove the MAP sensor on a V6 engine, unlock and disconnect the electrical connector, then rotate the sensor counterclockwise 1/4-turn and pull it out. Inspect the 0-ring and replace if necessary. To install, reverse the removal steps. On a V8 engine, the MAP sensor is located near the firewall. Disconnect the electrical connector, rotate the sensor 1/4-turn counterclockwise and remove it. Inspect the 0-ring and replace if necessary. To install, place it in position, insert it into the mounting hole and turn it 1/4-turn clockwise. Reverse the removal steps to complete installation.

Related Chrysler 300 Parts
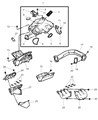
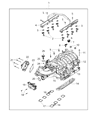
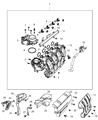
 Chrysler 300 Intake Manifold Gasket
 Chrysler 300 Intake Manifold
 Chrysler 300 Ignition Switch
 Chrysler 300 Mass Air Flow Sensor
 Chrysler 300 Intake Manifold Temperature Sensor
 Chrysler 300 Light Socket
 Chrysler 300 Intercooler
 Chrysler 300 Knock Sensor
 Chrysler 300 Mirror Switch
 Chrysler 300 Interior Light Bulb
 Chrysler 300 Occupant Detection Sensor
Browse by Year
2023 MAP Sensor 2022 MAP Sensor 2021 MAP Sensor 2020 MAP Sensor 2019 MAP Sensor 2018 MAP Sensor 2017 MAP Sensor 2016 MAP Sensor 2015 MAP Sensor 2014 MAP Sensor 2013 MAP Sensor 2012 MAP Sensor 2011 MAP Sensor 2010 MAP Sensor 2009 MAP Sensor 2008 MAP Sensor 2007 MAP Sensor 2006 MAP Sensor 2005 MAP Sensor