My Garage
My Account
Cart
Genuine Dodge Durango Rack And Pinion
Steering Rack And Pinion- Select Vehicle by Model
- Select Vehicle by VIN
Select Vehicle by Model
orMake
Model
Year
Select Vehicle by VIN
For the most accurate results, select vehicle by your VIN (Vehicle Identification Number).
54 Rack And Pinions found


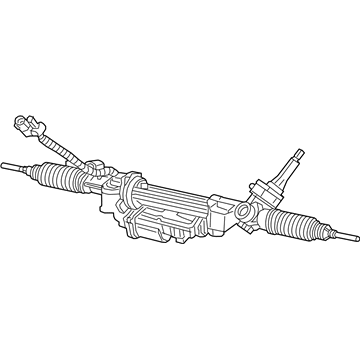
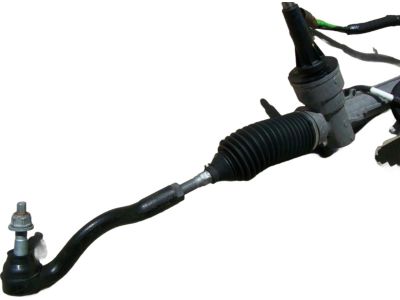
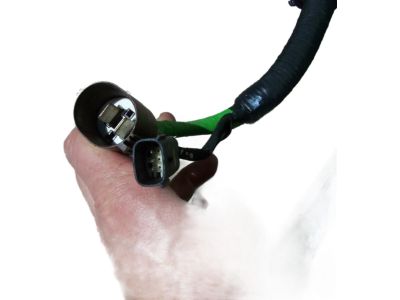
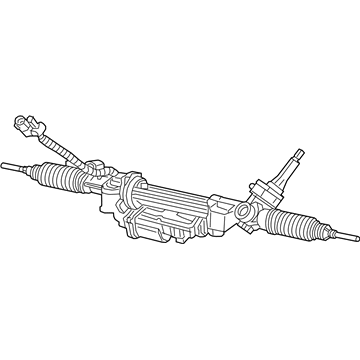
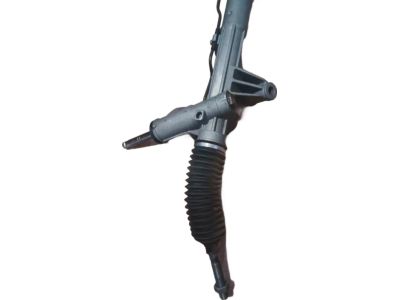
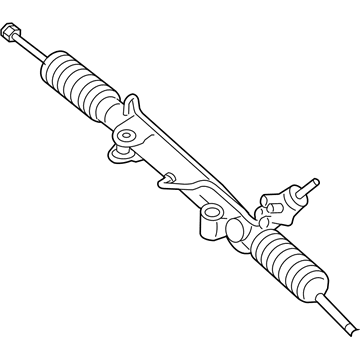
Dodge Durango Rack And Pinion Complete Unit
Part Number: 68078529AE$889.28 MSRP: $1365.00You Save: $475.72 (35%)
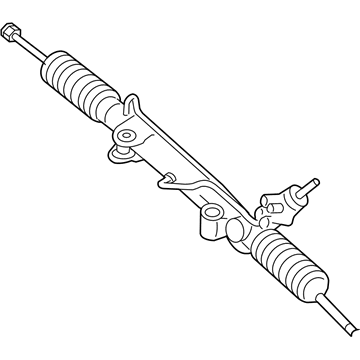
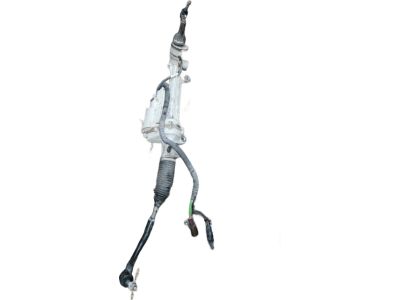
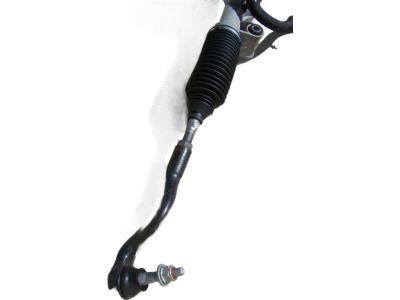
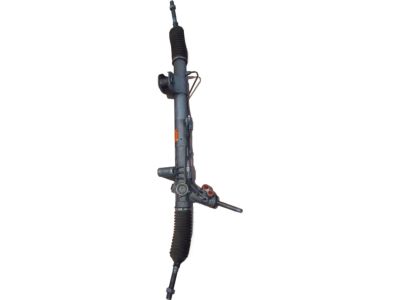
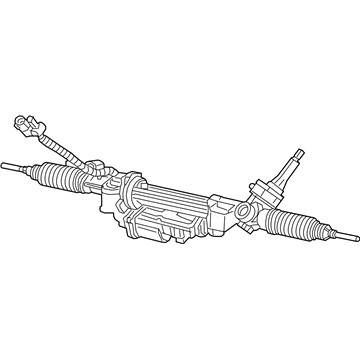
Dodge Durango Rack And Pinion Gear
Part Number: 52124724AG$970.68 MSRP: $1480.00You Save: $509.32 (35%)
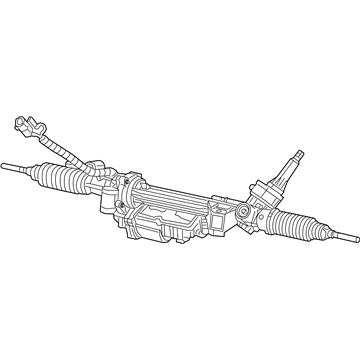
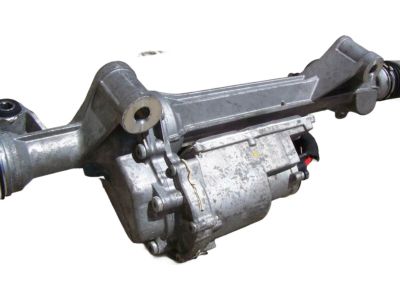
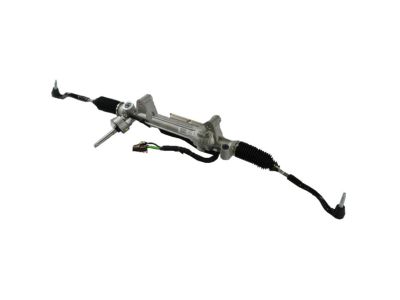
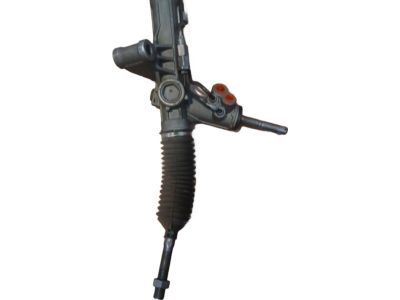
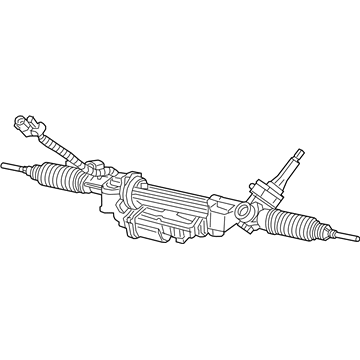
Dodge Durango Rack And Pinion Gear
Part Number: 68078529AD$889.28 MSRP: $1365.00You Save: $475.72 (35%)
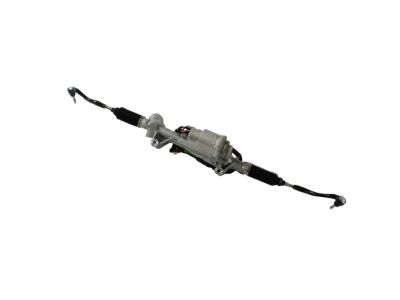
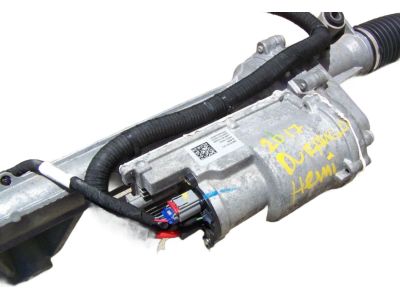
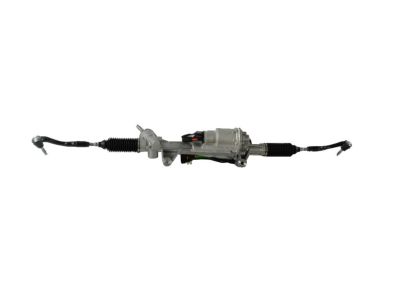
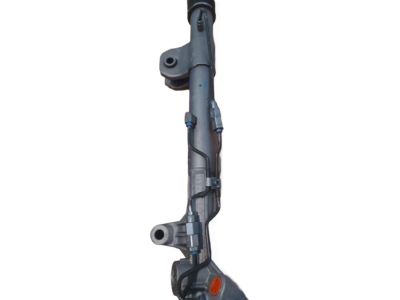
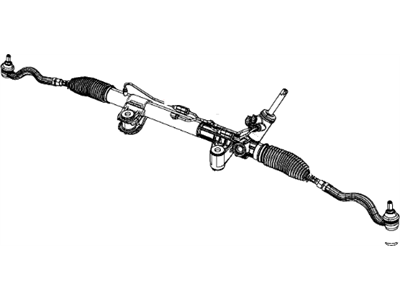
Dodge Durango Gear-Rack And Pinion
Part Number: 68367340AA$1459.08 MSRP: $2220.00You Save: $760.92 (35%)
Dodge Durango Gear-Rack And Pinion
Part Number: 68321633AC$629.28 MSRP: $933.00You Save: $303.72 (33%)
Dodge Durango Gear-Rack And Pinion
Part Number: 68321637AC$902.00 MSRP: $1375.00You Save: $473.00 (35%)
Dodge Durango Rack And Pinion Gear Remanufactured
Part Number: R2124727AF$150.71 MSRP: $175.00You Save: $24.29 (14%)
Dodge Durango Gear-Rack And Pinion
Part Number: 5154826AH$629.28 MSRP: $933.00You Save: $303.72 (33%)
Dodge Durango Gear-Rack And Pinion
Part Number: 68453293AA$902.00 MSRP: $1375.00You Save: $473.00 (35%)Dodge Durango Rack And Pinion Gear
Part Number: 52124724AH$970.68 MSRP: $1480.00You Save: $509.32 (35%)Dodge Durango RACK-RACK AND PINION
Part Number: 68594292AB$630.86 MSRP: $933.00You Save: $302.14 (33%)Dodge Durango RACK-RACK AND PINION
Part Number: 68594293AB$1107.08 MSRP: $1685.00You Save: $577.92 (35%)Dodge Durango Rack And PINION
Part Number: 68499167AA$2130.05 MSRP: $3150.00You Save: $1019.95 (33%)
Dodge Durango RACK-RACK AND PINION
Part Number: 68594299AB$1498.83 MSRP: $2220.00You Save: $721.17 (33%)
Dodge Durango Rack And Pinion Gear
Part Number: 52124727AF$998.68 MSRP: $1480.00You Save: $481.32 (33%)
| Page 1 of 3 |Next >
1-20 of 54 Results
Dodge Durango Rack And Pinion
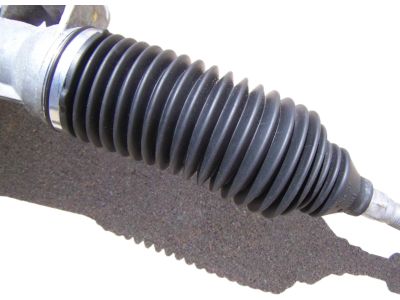
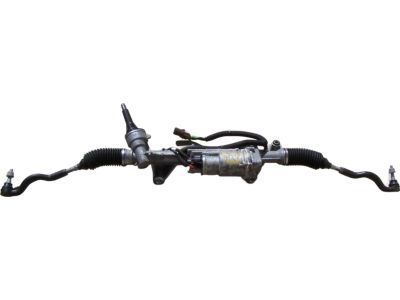
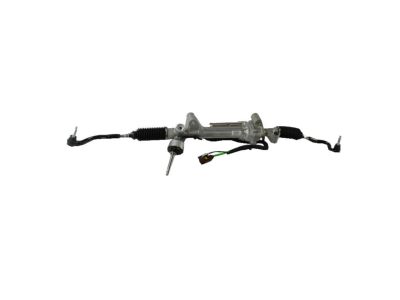
The Dodge Durango Rack And Pinion is one of the vehicles' parts that incorporates the rotational movement of the steering wheel into the lateral movement of the wheels. Such mechanism is a rack and pinion; it is built in a metal tube screwed on the frame; the pinion is connected with the shaft of the steering column. Dodge Durango models, like most vehicles on today's road, have power-assisted rack and pinion steering where the steering by the turning of the steering wheel applies pressure that in return transfers fluid to shift the rack left or right in a tubular fashion. Dodge Durango steering rack problems can occur when seals wearing, leaking, or gears become worn, which signals stiffness in the steering assembly, grinding sound, and drifting. This is why it is very important to perform regular maintenance and changing worn out parts to allow efficient steering and increase safety on the road. Dodge Durango's rack and pinion system is functional in creating response to driver inputs and enhancing maneuverability's stability.
Looking for affordable and high-quality auto parts? Then you have already arrived at the proper online shop. We offer all Dodge Durango Rack And Pinion at great affordable prices. Moreover, all genuine Dodge Durango Rack And Pinion come with a manufacturer's warranty. In the long run, you would realize you have saved a lot of trouble and money with OEM parts from here.
Dodge Durango Rack And Pinion Parts Questions & Experts Answers
- Q: How to Remove the Steering Gear from a Dodge Durango?A:Park the vehicle with the wheels pointing straight ahead. Loosen the front wheel lug nuts, raise the front of the vehicle and support it securely on jackstands. Apply the parking brake. Remove the wheels. Detach the tie-rod ends from the rack and pinion. Mark the relationship of the intermediate shaft coupler to the rack and pinion input shaft, remove the pinch bolt and separate the coupler from the input shaft. Position a drain pan under the rack and pinion. Using a flare-nut wrench, disconnect the power steering pressure and return lines from the rack and pinion. Cap the lines to prevent leakage. Turn the rack and pinion to the right as far as it will go. On Durango models with 3.7L and 4.7L engines, remove the exhaust Y-pipe. On Durango models, remove the crossmember mounted in front of the rack and pinion. Remove the mounting bolts, then maneuver the rack and pinion out of the vehicle. Inspect all rubber bushings for wear and damage. If any of the rubber parts are cracked, torn or generally deteriorated, replace them. Installation is the reverse of removal, noting the following points: Tighten the rack and pinion mounting bolts and the intermediate shaft coupler pinch bolt to the torque values. Tighten the wheel lug nuts to the torque. Check the power steering fluid level and add some, if necessary, and then bleed the system. Re-check the power steering fluid level.
Related Dodge Durango Parts
Browse by Year
2023 Rack And Pinion 2022 Rack And Pinion 2021 Rack And Pinion 2020 Rack And Pinion 2019 Rack And Pinion 2018 Rack And Pinion 2017 Rack And Pinion 2016 Rack And Pinion 2015 Rack And Pinion 2014 Rack And Pinion 2013 Rack And Pinion 2012 Rack And Pinion 2011 Rack And Pinion 2009 Rack And Pinion 2008 Rack And Pinion 2007 Rack And Pinion 2006 Rack And Pinion 2005 Rack And Pinion 2004 Rack And Pinion 2003 Rack And Pinion 2002 Rack And Pinion 2001 Rack And Pinion 2000 Rack And Pinion


