My Garage
My Account
Cart
Genuine Jeep Wagoneer Brake Disc
Disc Rotor- Select Vehicle by Model
- Select Vehicle by VIN
Select Vehicle by Model
orMake
Model
Year
Select Vehicle by VIN
For the most accurate results, select vehicle by your VIN (Vehicle Identification Number).
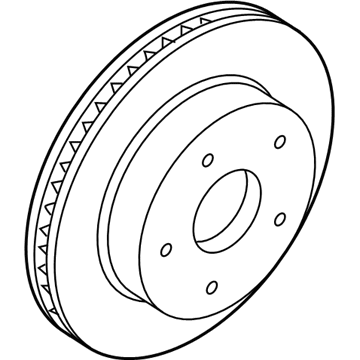
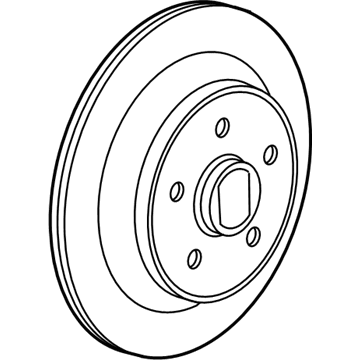
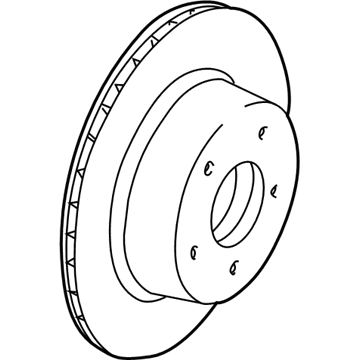
8 Brake Discs found
Jeep Wagoneer Brake Disc
The Brake Disc in Jeep Wagoneer automobiles is an integral part of disc brakes which works as an abutment for the brake footwear to drag or stop the vehicle. Located to the axle or hub, the rotor revolves together with the wheel, and when brakes are applied, hydraulic pressure presses the pads of the calipers on it. This design makes it easy for the device to dispel heat, which is particularly the case when using cooled rotors that have a fin-like design as opposed to traditional ruotors that are quite similar to those employed in small non-performance vehicles. Different types of Brake Discs have been used in different models of Jeep Wagoneer over the years,both the solid and the vented designs being common. The solid rotors are relatively easier than the vented rotors; the latter's design is useful for cooling and better performance. This is important since rotors can get damaged in such ways as scoring, warping and excessive run out which will adversely affect braking. Some of theparts of a vehicle are premier checked or replaced often so as to maintain efficiency and prevent hazards from arising.
Looking for affordable and high-quality auto parts? Then you have already arrived at the proper online shop. We offer all Jeep Wagoneer Brake Disc at great affordable prices. Moreover, all genuine Jeep Wagoneer Brake Disc come with a manufacturer's warranty. In the long run, you would realize you have saved a lot of trouble and money with OEM parts from here.
Jeep Wagoneer Brake Disc Parts Questions & Experts Answers
- Q: How to inspect the brake disc on Jeep Wagoneer?A:To inspect the brake disc, start by loosening the wheel lug nuts, raising the vehicle, and securing it with jackstands. Remove the wheel and then the Brake Caliper without disconnecting the brake hose; hang the caliper safely using a piece of wire, ensuring it doesn't hang by the hose. In 4WD models, retain the disc in place with two lug nuts. Visually examine the disc surface for damage, checking for score marks and deep grooves, which may require disc removal and refinishing by an automotive machine shop. Verify both sides of the disc and investigate disc runout by using a dial indicator to ensure it doesn't exceed allowable limits. For 4WD or 1993 and later 2WD vehicles, remove the retaining lug nuts, slide off the disc, and replace it. When installing, adjust the wheel bearing as necessary, ensuring proper cleaning and repacking if the disc was machined. On 4WD models, simply position the disc over the wheel studs. Reinstall the caliper and Brake Pad assembly over the disc, secure it on the steering knuckle, and tighten the caliper mounting pins to the specified torque. Reinstall the wheel, lower the vehicle, and depress the brake pedal several times to establish contact between the brake pads and the disc. Brake system bleeding is only required if the brake hose was disconnected. Thoroughly assess brake operation before returning the vehicle to normal service.


