×
- Live Chat
- 1-888-511-3595

My Garage
My Account
Cart
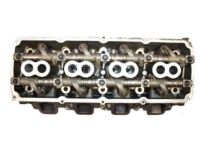
Genuine Dodge Charger Cylinder Head
Head- Select Vehicle by Model
- Select Vehicle by VIN
Select Vehicle by Model
orMake
Model
Year
Select Vehicle by VIN
For the most accurate results, select vehicle by your VIN (Vehicle Identification Number).
90 Cylinder Heads found
Dodge Charger Head-Engine Cylinder
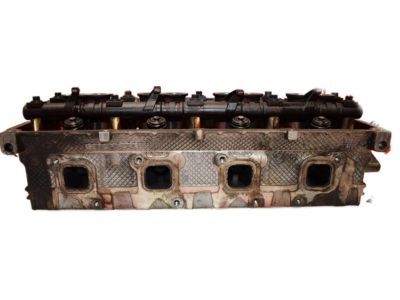
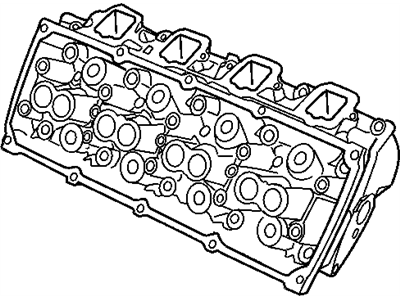
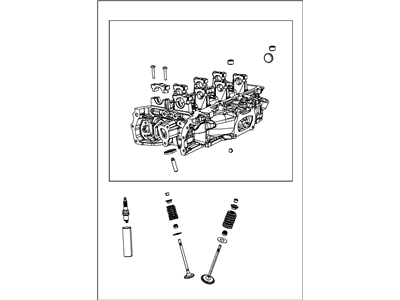
Part Number: RL141353AA$986.97 MSRP: $1155.00You Save: $168.03 (15%)Dodge Charger Head-Engine Cylinder
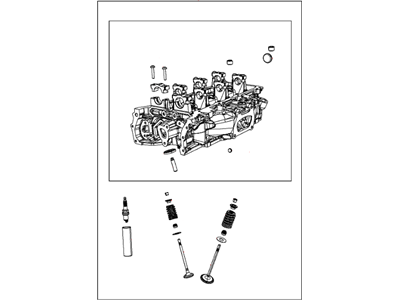
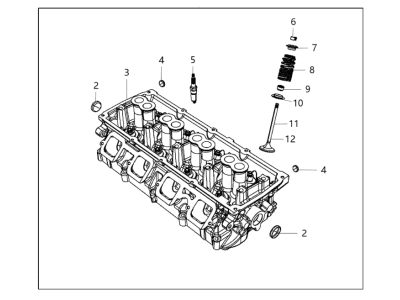
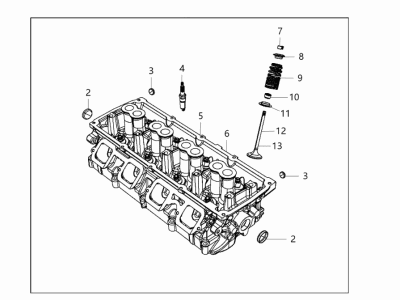
Part Number: 68280511AB$1016.25 MSRP: $1240.00You Save: $223.75 (19%)Dodge Charger Head-Engine Cylinder
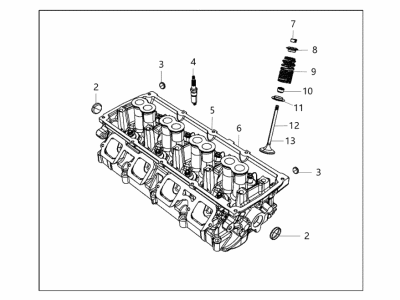
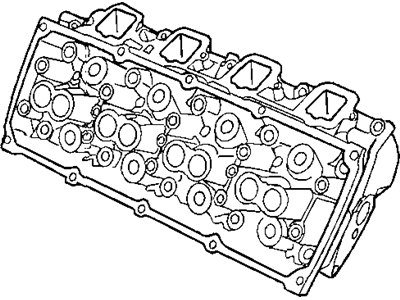
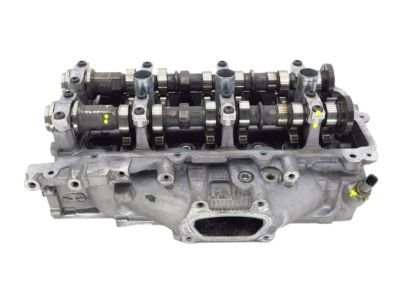
Part Number: 68141353AB$986.97 MSRP: $1155.00You Save: $168.03 (15%)Dodge Charger Head-Engine Cylinder
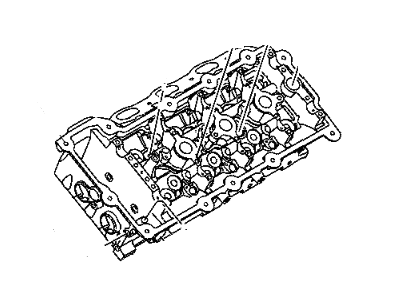
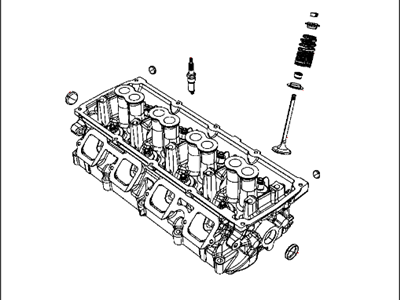
Part Number: 68280503AA$791.85 MSRP: $926.00You Save: $134.15 (15%)Dodge Charger HEAD-ENGINE CYLINDER
Part Number: 68225719AF$1048.53 MSRP: $1235.00You Save: $186.47 (16%)Dodge Charger Head-Engine Cylinder
Part Number: 68280503AE$764.25 MSRP: $926.00You Save: $161.75 (18%)Dodge Charger Head-Engine Cylinder
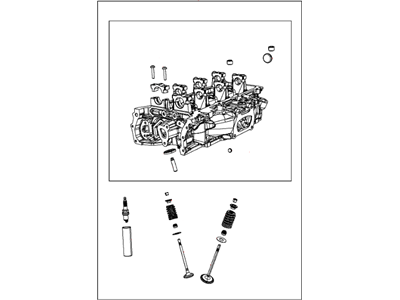
Part Number: 68280510AD$967.85 MSRP: $1190.00You Save: $222.15 (19%)Dodge Charger Head&Valve-Cylinder
Part Number: 68141352AE$609.17 MSRP: $1025.00You Save: $415.83 (41%)Dodge Charger Head-Engine Cylinder
Part Number: 68280502AB$604.75 MSRP: $729.00You Save: $124.25 (18%)Dodge Charger HEAD-ENGINE CYLINDER
Part Number: 68225718AF$948.21 MSRP: $1120.00You Save: $171.79 (16%)
| Page 1 of 5 |Next >
1-20 of 90 Results
Dodge Charger Cylinder Head
Looking for affordable and high-quality auto parts? Then you have already arrived at the proper online shop. We offer all Dodge Charger Cylinder Head at great affordable prices. Moreover, all genuine Dodge Charger Cylinder Head come with a manufacturer's warranty. In the long run, you would realize you have saved a lot of trouble and money with OEM parts from here.
Dodge Charger Cylinder Head Parts Questions & Experts Answers
- Q: How to remove and install a cylinder head in 2.7L V6 engine on Dodge Charger?A: Just before starting, make sure the engine is completely cold. To begin removing the above, be careful not to move crankshaft position alignment marks and remove primary timing chain and sprockets. Proceed by taking Camshafts off from cylinder head, then remove Rocker Arms and hydraulic Lash Adjusters and label them for reinstalling on the same valves they were removed from. Remove the lower intake manifold as well as any Exhaust Manifold(s), labeling and removing other components still attached to the cylinder head. Unscrew evenly all head bolts by turning each one One-quarter turn at a time until you reach break away torque so as to avoid warping or cracking the heads. Lift out the cylinder head with exhaust manifold still attached, prying it up at trans end just beyond the gasket surface if stuck. For thorough cleaning of a cylinder head before taking it to an automotive machine shop apply this procedure; send it to an automotive machine shop after stripping all external components from a cylinder head. Ensure that mating surfaces of a block and a cylinder head are spotlessly clean before installation. Carbon and old gaskets can be scraped off using a gasket scraper; wipe surfaces with lacquer thinner or acetone knowing oil should not be present thereon when mating takes place. Examine both block and head surfaces for damage, tap threads in head bolt holes, check each bolt for stretching on every cylinder-head bolt hole size plays a significant role in determining proper clamp load during assembly process after re-tapping each of them . Check the flatness of this component using a straightedge or feeler gauge . Reinstall any parts taken off the top end, correctly place new cylinder-head gasket over dowel pins in block's deck surface retaining its position while lowering it onto dowels without pushing down on this seal . Lubricate head bolt threads and hardened washers with clean engine oil, following tightening sequence on torque-to-yield bolts; reinstall lash adjusters, rocker arms, camshafts, primary timing chain and sprockets . Finally when you are through with all the above procedures refill your cooling system, change engine oil and filter before starting it up then observe for coolant or oil leaks.
Related Dodge Charger Parts
Browse by Year
2022 Cylinder Head 2021 Cylinder Head 2020 Cylinder Head 2019 Cylinder Head 2018 Cylinder Head 2017 Cylinder Head 2016 Cylinder Head 2015 Cylinder Head 2014 Cylinder Head 2013 Cylinder Head 2012 Cylinder Head 2011 Cylinder Head 2010 Cylinder Head 2009 Cylinder Head 2008 Cylinder Head 2007 Cylinder Head 2006 Cylinder Head 1987 Cylinder Head 1986 Cylinder Head 1985 Cylinder Head 1984 Cylinder Head


