×
- Live Chat
- 1-888-511-3595

My Garage
My Account
Cart
Genuine Dodge Durango Cylinder Head
Head- Select Vehicle by Model
- Select Vehicle by VIN
Select Vehicle by Model
orMake
Model
Year
Select Vehicle by VIN
For the most accurate results, select vehicle by your VIN (Vehicle Identification Number).
91 Cylinder Heads found
Dodge Durango Head-Engine Cylinder
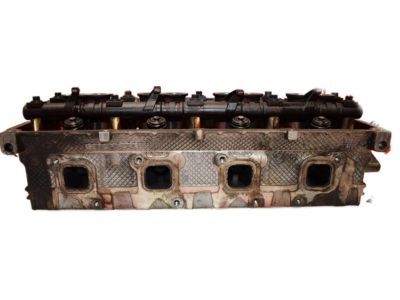
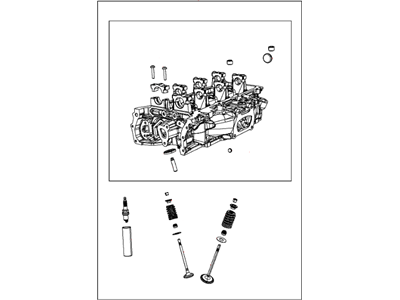
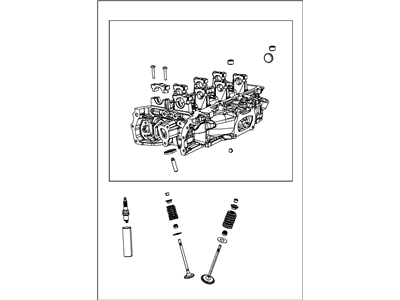
Part Number: RL141353AA$986.97 MSRP: $1155.00You Save: $168.03 (15%)Dodge Durango Head-Engine Cylinder
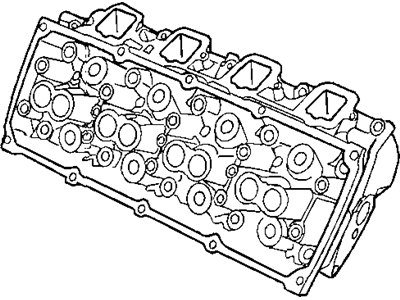
Part Number: 68141353AB$986.97 MSRP: $1155.00You Save: $168.03 (15%)Dodge Durango Head-Engine Cylinder
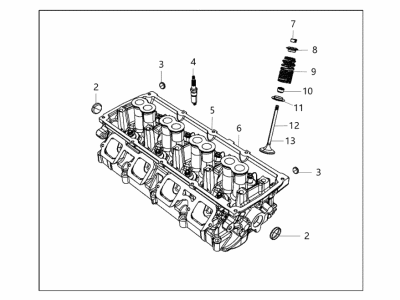
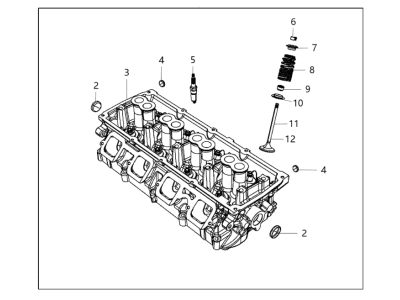
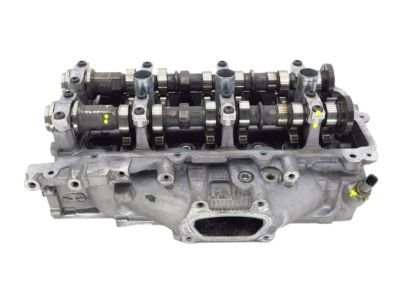
Part Number: 68280503AA$791.85 MSRP: $926.00You Save: $134.15 (15%)Dodge Durango HEAD-ENGINE CYLINDER
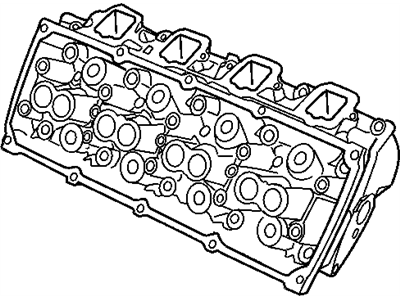
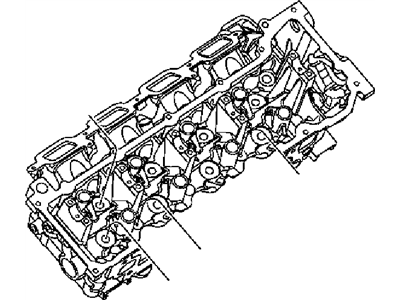
Part Number: 68225719AF$1048.53 MSRP: $1235.00You Save: $186.47 (16%)Dodge Durango Head-Engine Cylinder
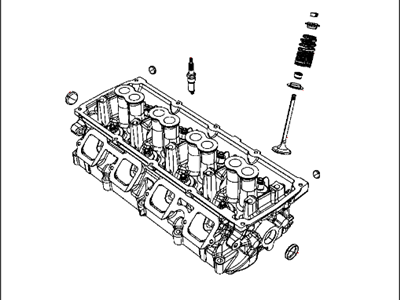
Part Number: 68280503AE$764.25 MSRP: $926.00You Save: $161.75 (18%)Dodge Durango Head-Engine Cylinder
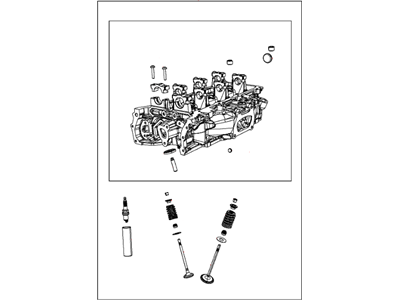
Part Number: 68280510AD$967.85 MSRP: $1190.00You Save: $222.15 (19%)Dodge Durango Head&Valve-Cylinder
Part Number: 68141352AE$609.17 MSRP: $1025.00You Save: $415.83 (41%)Dodge Durango HEAD-ENGINE CYLINDER
Part Number: 68225718AF$948.21 MSRP: $1120.00You Save: $171.79 (16%)
| Page 1 of 5 |Next >
1-20 of 91 Results
Dodge Durango Cylinder Head
Looking for affordable and high-quality auto parts? Then you have already arrived at the proper online shop. We offer all Dodge Durango Cylinder Head at great affordable prices. Moreover, all genuine Dodge Durango Cylinder Head come with a manufacturer's warranty. In the long run, you would realize you have saved a lot of trouble and money with OEM parts from here.
Dodge Durango Cylinder Head Parts Questions & Experts Answers
- Q: How to remove the cylinder heads with the camshaft and exhaust manifold still attached in 3.7L V6 and 4.7L V8 engine on Dodge Durango?A: In order to detach the cylinder heads with the camshaft(s) and the Exhaust Manifold(s) it is necessary to go through several steps. Start with the Intake Manifold, the Timing Chains, sprockets as well as the guides. It's safer to jack up the front of the car and support it by stands and then the exhaust piping can be removed from the manifolds. Identify any of the cylinder head related component like coolant fittings, ground straps, cables, hoses, wires and brackets if any and then uninstall it. To remove these bolts, you will use a breaker bar and the correct size of socket; turn the bolts in a 1/4 turn and then reverse the sequence to avoid warping or cracking of the cylinder head. Remove the cylinder head with the camshaft and exhaust manifold installed lifting it gently where you may need to use pry bar. Disconnect all the accessories mounted on the head so as to bring out the cleaning and inspection session effectively. When fitting, the surfaces of the cylinder head and block must be free from any marks such as carbon or old gasket marks, and remove these using a gasket scraper and clean with acetone or lacquer thinner. Inspect the interfacial areas and decide whether a file is enough or a machining process for several damages is necessary. In the head bolt holes chase the threads with a tap and clean them with compressed air. Using a straight edge check each of the cylinder head bolt for stretch and replace as required. Examine the cylinder head for warpage and examine the head gasket, intake manifold as well as the exhaust manifold. Replace any taken out from the head components, align the new cylinder head gasket into the dowels and put the head back without interfering with the gasket. In addition to this when tightening up the M10 head bolts, the chamfers of which should face the bolt heads, clean engine oil should be applied to the threads and hardened washers of the M10 head bolts but on the MB head bolts, thread sealant shoult be applied. Place the bolts back in their respective positions and torque them until just snug with fingers, and then when tightening the flange to head proceed with right and left sequence for torque and rotational angle. Remove, replace and or adjust the timing chain guides, chains, and sprockets sometimes just takes out and reinserts, fill up cooling system and refill the engine oil and filter it. Last, begin checking for oil and coolant leaks with the engine running.
Related Dodge Durango Parts
Browse by Year
2023 Cylinder Head 2022 Cylinder Head 2021 Cylinder Head 2020 Cylinder Head 2019 Cylinder Head 2018 Cylinder Head 2017 Cylinder Head 2016 Cylinder Head 2015 Cylinder Head 2014 Cylinder Head 2013 Cylinder Head 2012 Cylinder Head 2011 Cylinder Head 2009 Cylinder Head 2008 Cylinder Head 2007 Cylinder Head 2006 Cylinder Head 2005 Cylinder Head 2004 Cylinder Head 2003 Cylinder Head 2002 Cylinder Head 2001 Cylinder Head 2000 Cylinder Head 1999 Cylinder Head 1998 Cylinder Head


